1. Software preparation
In this article, CentOS7 is installed on the VMware Workstation virtual machine software, so please install the software yourself before installation.
Baidu network disk CentOS download address: link: https://pan.baidu.com/s/1uarMPRx1595rt-gwV7j3vw
Extraction code: 1234
–Sharing from Baidu Netdisk super member V1
2. Installation
1. Open VMware Workstation and choose to create a new virtual machine;
 2. Select the custom option; click Next

3. Select the virtual machine hardware compatibility, and just go to the next step; click Next

4. Here we choose to install the operating system later; click Next

5. The client operating system here is Linux, the version is Centos7, 32 or 64 bits are based on your own computer; click Next

6. The name of the virtual machine is self-made, and it is recommended not to put it on the c drive; click Next

7. The number of virtual machine processors is given here; click Next

8. How much memory should be given to the virtual machine? If your computer has 8G memory, it is recommended to use 2G memory. If your computer memory is large enough, you can also allocate more memory to the virtual machine; click Next

9. Here we use net for network connection, which will be used when configuring the network later; you can also use other network connection methods; click Next

Note:
The VMnet1 network port corresponds to the host-only mode
The VMnet8 network port corresponds to the NAT mode
The VMnet0 network port corresponds to the bridge mode
View the above correspondence is edited in VMware workstation – virtual network editor
10. Recommended by default; click Next

11. Recommended by default; click Next

12. Choose to create a new virtual disk; click Next

13. The maximum disk size is selected according to the disk space of your own computer, the minimum should not be less than 10G, here choose the default 20G; split the disk into multiple files, easy to move; click Next

14. Click Next

15. Click Customize Hardware before clicking Finish;

16. Click New CD/DVD here to select the centos7 image file you downloaded; you can remove unnecessary printers to increase the boot speed; click Close

17. Then you can start the virtual machine

3. Enter the centos installation interface
1. Select the first installation

2. Choose the language. Experienced students choose the English version, which is convenient for finding problems. Here we can also choose Chinese;; click to continue

3. The options and installation sources in the localization here are the default and do not need to be changed; the main changes are the software and the system

4. Software selection: here we choose minimal installation, if you are a novice, you can choose to have a graphical interface; at the same time, we need to choose the development tool; click Finish


5. We must be careful not to make mistakes in the system here! ! ! Let’s click on the installation location first
6. Installation location: select the partition I want to allocate; click Finish
7. Close kdump


8. Virtual machine network configuration


Note: The ip of the local machine and the virtual machine cannot be the same, so we will find a similar one;
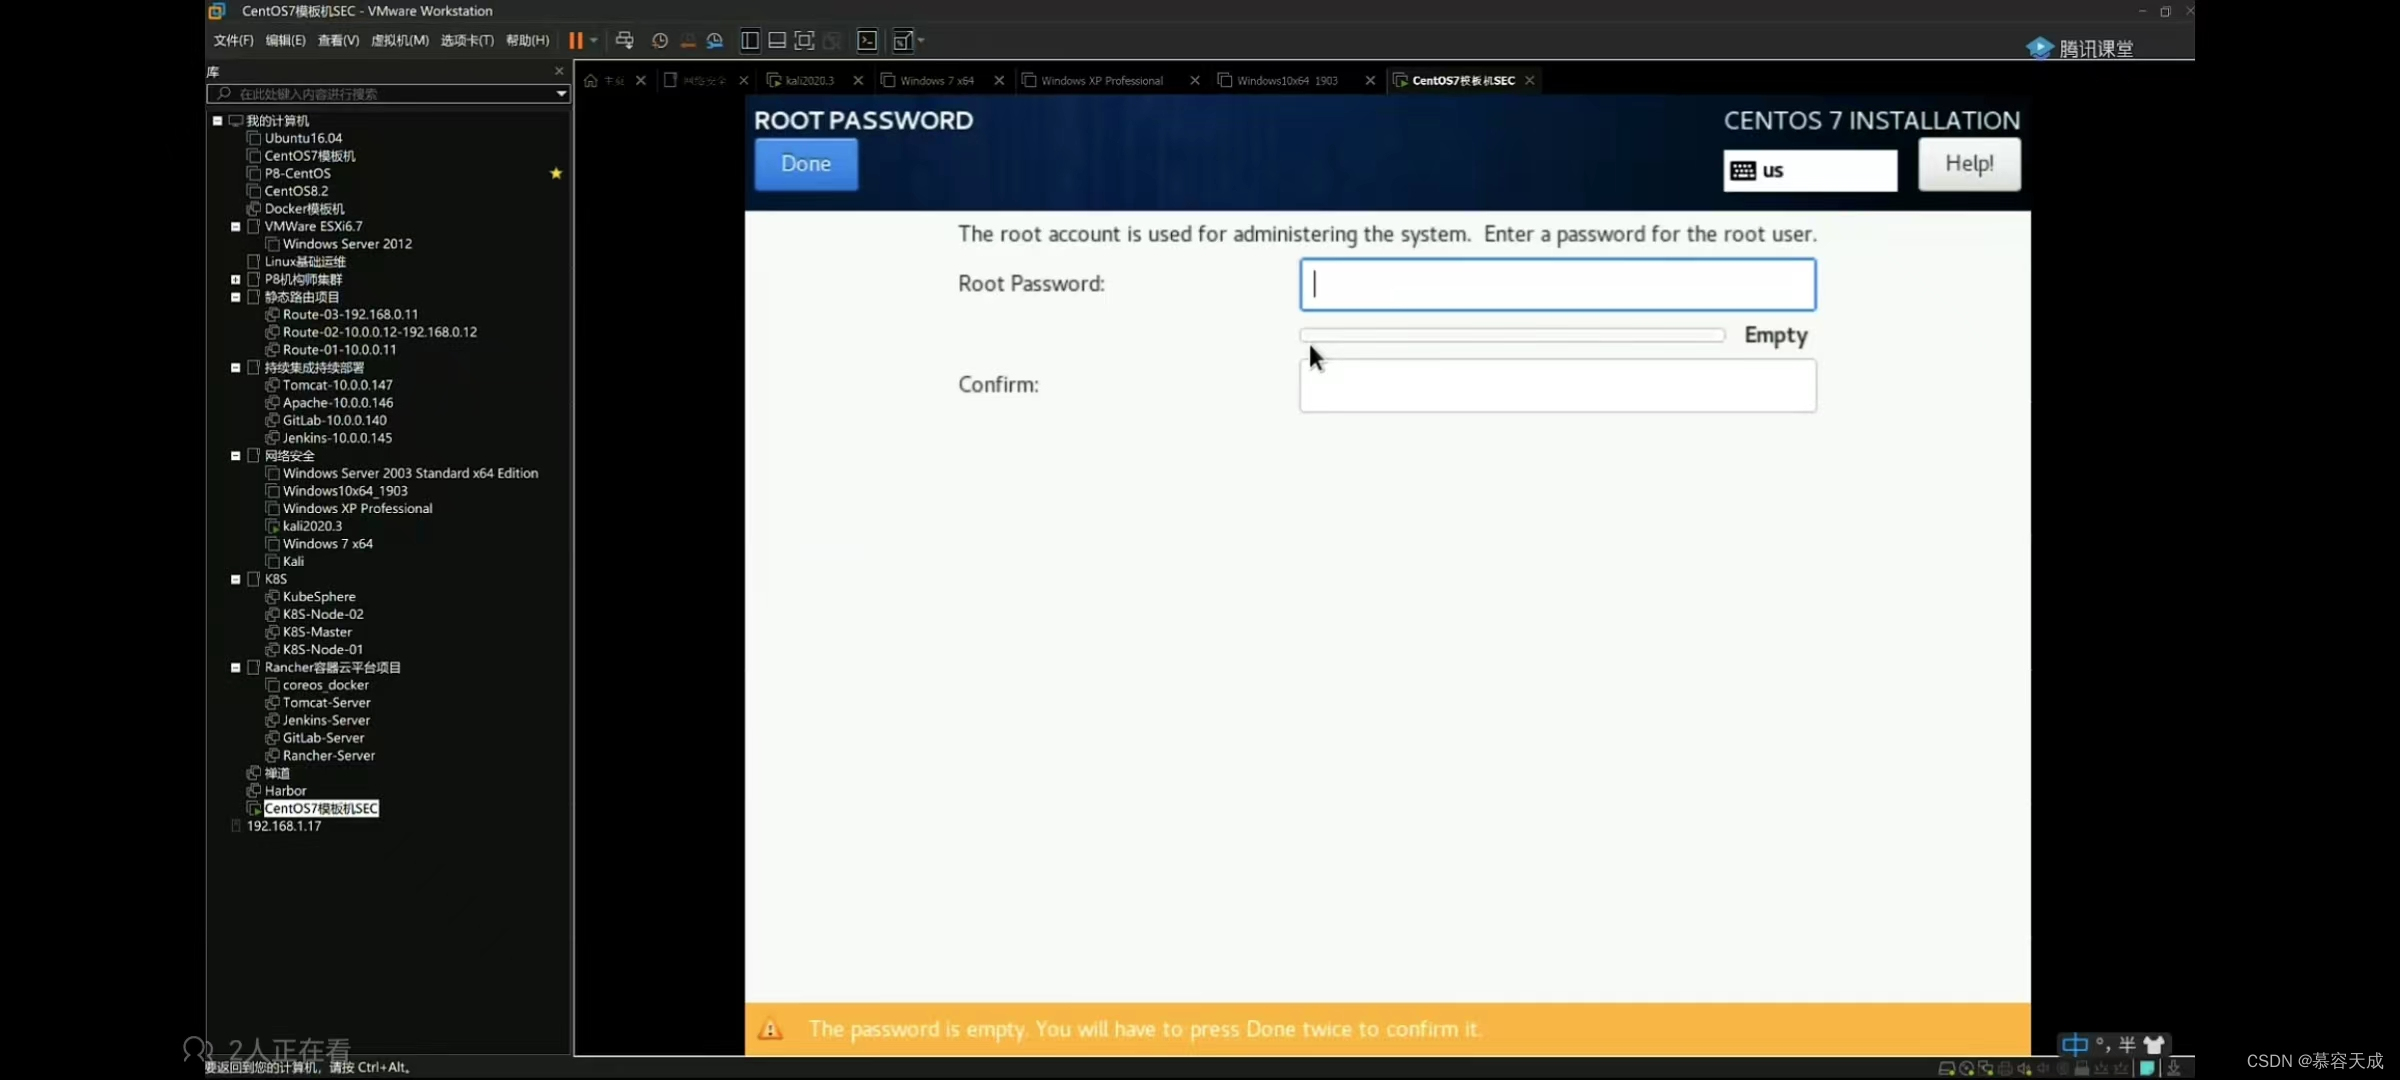
9. During the installation, we set the root password and create a user;

(1), the root password is 123456; (Note: The password is 123456 is too simple, so it is necessary to complete it twice)

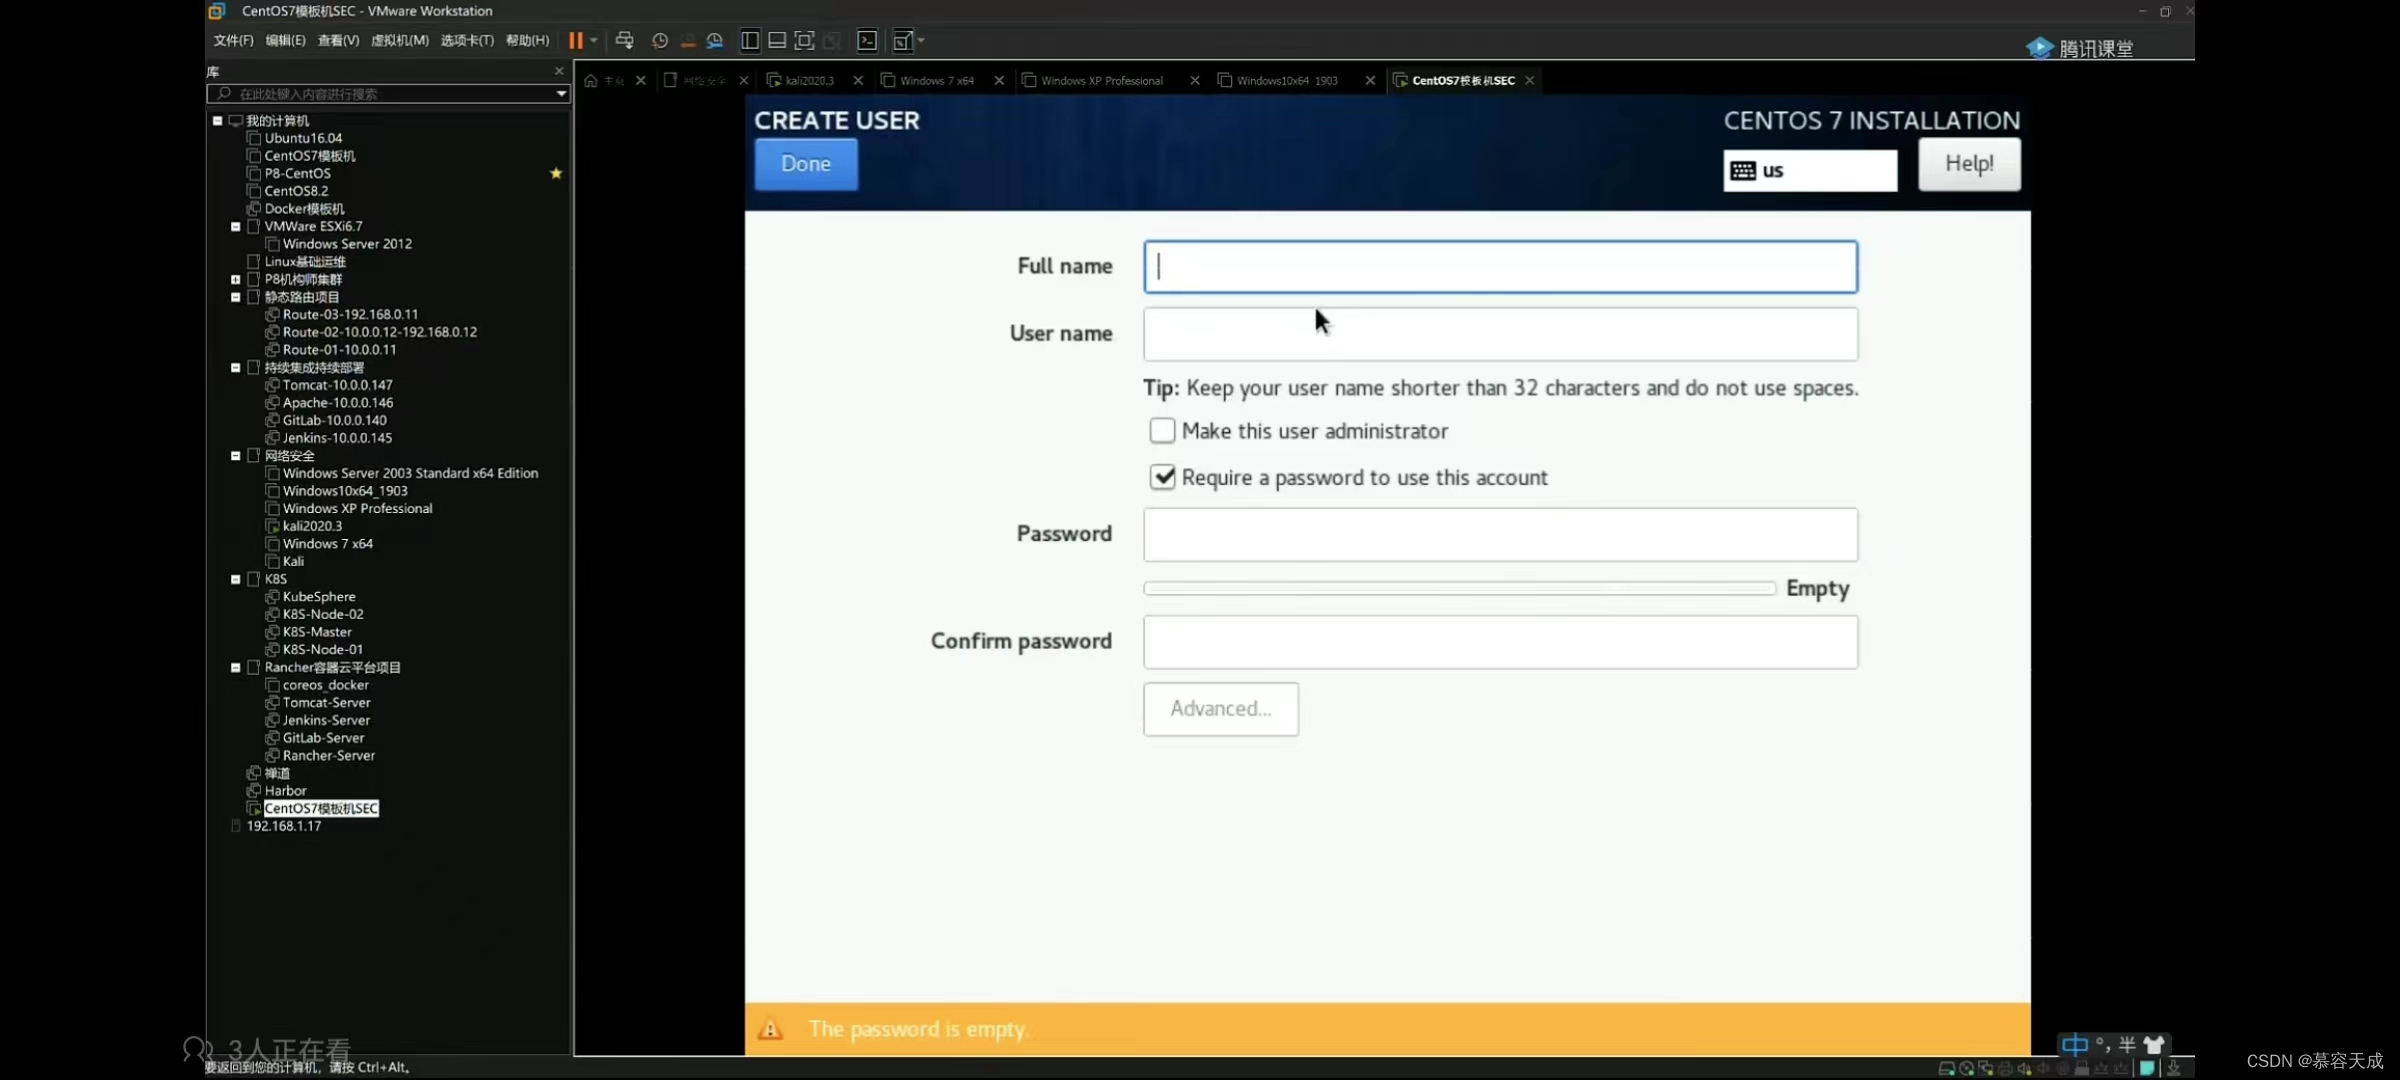
(2), the user can set it by himself; if the password is still 123456, click twice to complete

10. Click Restart to use it; here our installation is complete

Fourth, minimize the necessary tools
1. Check whether the network can be pinged;

2. Specify the name of the template machine
hostnamectl set-hostname xxx
logout
3. Specify a static address (network card configuration file)
/etc/sysconfig/network-scripts/ifcfg-ens33
4. vim tool
yum install -y vim tree lrzsz wget curl unzip
yum install -y net-tools
5. Change IP address
?
Modify the virtual network editor under shutdown state

Restart network services
systemctl restart network
6. Turn off and disable the firewall (centos7 is different from previous versions)
(1), close the firewall directly
systemctl stop firewalld
(2), prohibit the firewall from booting
systemctl disable firewalld
(3) Check status:
systemctl status firewalld
copy template machine

6. Close selinux
# vim /etc/selinux/config
 will SELINUX =enforcing is changed to SELINUX=disabled; finally restart it
The knowledge points of the article match the official knowledge files, and you can further learn relevant knowledge CS introductory skill tree Linux introductory Online installation software 31622 people are learning the system