Environment preparation
Switch pypi source
Run the following script to switch the pypi source to the Alibaba Cloud image to avoid network problems during the installation of the python library.
#!/bin/bash

# Define configuration content
config_content="[global]
index-url = http://mirrors.aliyun.com/pypi/simple/

[install]
trusted-host=mirrors.aliyun.com
"

# Get the user's home directory
user_home="$HOME"

# Make sure the .pip directory exists
pip_dir="$user_home/.pip"
if [ ! -d "$pip_dir" ]; then
    mkdir -p "$pip_dir"
fi

#Set the path to the pip configuration file
pip_conf_path="$pip_dir/pip.conf"

# Write the configuration content to the pip.conf file
echo -e "$config_content" > "$pip_conf_path"

echo "The configuration has been written to the $pip_conf_path file."
</code><img class="look-more-preCode contentImg-no-view" src="//i2.wp.com/csdnimg.cn/release/blogv2/dist/pc/img/newCodeMoreBlack.png" alt ="" title="">
New Django project
Create a project using PyCharm

Directory structure
myproject/ # project root directory
├── myproject/ # Project configuration directory
│ ├── __init__.py # Empty file, identifying the directory as a Python package
│ ├── settings.py # Project settings, including database configuration, application configuration, etc.
│ ├── urls.py # Definition of URL routing rules
│ ├── wsgi.py # Entry file used to deploy the project to the WSGI server
│ ├── asgi.py # Entry file used to deploy the project to the ASGI server
├── myapp/ # Application directory
│ ├── __init__.py # Empty file, identifying the directory as a Python package
│ ├── admin.py # Configure the background management interface of the application
│ ├── apps.py # Application configuration
│ ├── migrations/ # Store database migration files
│ ├── models.py # Define the data model of the application
│ ├── tests.py # unit test file
│ ├── views.py # Contains view functions that handle HTTP requests
│ ├── static/ # Store static files of the application
│ │ ├── myapp/ # Static file directory of the application
│ │ │ ├── my_css.css # CSS file for the application
│ │ │ ├── my_js.js # JavaScript file for the application
│ ├── templates/ # Store the HTML template files of the application
│ │ ├── myapp/ # Application template file directory
│ │ │ ├── template.html # HTML template for the application
├── manage.py # Project management script, used to perform various management tasks
├── static/ # Project static file directory
│ ├── my_global_static.css # Global CSS file
├── templates/ # Project template file directory
│ ├── base.html #Basic HTML template for the project
│ ├── index.html #Home page HTML template of the project
├── media/ # Media file directory, which stores media files uploaded by users.

</code><img class="look-more-preCode contentImg-no-view" src="//i2.wp.com/csdnimg.cn/release/blogv2/dist/pc/img/newCodeMoreBlack.png" alt ="" title="">
Start project

Set language and time zone
Modify CodeVoyager/settings.py
# Set the default language code of the project to Simplified Chinese
LANGUAGE_CODE = 'zh-hans'

#Set the project's time zone to Asia/Shanghai
TIME_ZONE = 'Asia/Shanghai'

# Enable internationalization
# When True, allows the project to support multiple languages and translations
USE_I18N = True

# Enable localization (Localization)
# When True, the project will localize date, time, etc. into region-specific formats
USE_L10N = True

# Enable time zone support
# When True, the project will handle time zone information for dates and times
USE_TZ = True
</code><img class="look-more-preCode contentImg-no-view" src="//i2.wp.com/csdnimg.cn/release/blogv2/dist/pc/img/newCodeMoreBlack.png" alt ="" title="">

Connect to mysql
Create database
CREATE USER 'code_voyager'@'%' IDENTIFIED BY "code_voyager";
CREATE DATABASE code_voyager DEFAULT CHARACTER SET utf8;
GRANT ALL PRIVILEGES ON code_voyager.* TO code_voyager@'%';
FLUSH PRIVILEGES;
Install mysqlclient
Windows
pip install mysqlclient
macOS (Homebrew)
brew install mysql-client pkg-config
export PKG_CONFIG_PATH="/opt/homebrew/opt/mysql-client/lib/pkgconfig"
pip install mysqlclient
Linux
sudo apt-get install python3-dev default-libmysqlclient-dev build-essential # Debian / Ubuntu
sudo yum install python3-devel mysql-devel # Red Hat / CentOS
pip install mysqlclient
Modify configuration file
DATABASES = {<!-- -->
    'default': {<!-- -->
        'ENGINE': 'django.db.backends.mysql',
        'NAME': 'code_voyager',
        'USER': 'code_voyager',
        'PASSWORD': 'code_voyager',
        'HOST': '127.0.0.1',
        'PORT': '3306',
    }
}
Connect to Redis
Install dependencies
pip install django-redis
Modify configuration
CACHES = {<!-- -->
    'default': {<!-- -->
        'BACKEND': 'django_redis.cache.RedisCache',
        'LOCATION': 'redis://{url}:{port}/1'.format(
            url='127.0.0.1',
            port='6379'
        ),
        "OPTIONS": {<!-- -->
            "CLIENT_CLASS": "django_redis.client.DefaultClient",
        },
    },
}
Create an administrator user
Generate database table
python manage.py makemigrations
python manage.py migrate
Create a new administrator user
python manage.py createsuperuser

Log in to the administrator account
Use djangorestframework to implement rest API
Install djangorestframework
pip install markdown django-filter djangorestframework
New paging configurationCodeVoyager/pagination.py
#!/usr/bin/python
# -*- coding: utf-8 -*-
from rest_framework.pagination import PageNumberPagination


class Pagination(PageNumberPagination):
    page_size_query_param = 'page_size'
    page_query_param = 'page'
Custom permissionsCodeVoyager/permissions.py
#!/usr/bin/python
# -*- coding: utf-8 -*-
from rest_framework.permissions import BasePermission


class IsAdminUser(BasePermission):
    """Only allow administrator users to access"""

    def has_permission(self, request, view):
        user = request.user
        return bool(user and user.is_active and user.is_superuser)


class IsAuthenticated(BasePermission):
    """Allow logged in users to access"""
    def has_permission(self, request, view):
        user = request.user
        return bool(user and user.is_active and user.is_authenticated)


class AllowAny(BasePermission):
    """Allow anyone to access"""

    def has_permission(self, request, view):
        return True
</code><img class="look-more-preCode contentImg-no-view" src="//i2.wp.com/csdnimg.cn/release/blogv2/dist/pc/img/newCodeMoreBlack.png" alt ="" title="">
Modify configuration
INSTALLED_APPS = [
    ...
    'rest_framework',
]

# Settings for REST framework are all namespaced in the REST_FRAMEWORK setting.
# https://www.django-rest-framework.org/api-guide/settings/
REST_FRAMEWORK = {<!-- -->
    'DEFAULT_PERMISSION_CLASSES': (
        'CodeVoyager.permissions.IsAdminUser',
    ),
    'DEFAULT_VERSIONING_CLASS': 'rest_framework.versioning.URLPathVersioning',
    'DEFAULT_VERSION': 'v1',
    'ALLOWED_VERSIONS': ['v1'],
    'DEFAULT_PAGINATION_CLASS': 'CodeVoyager.pagination.Pagination',
    'DEFAULT_AUTHENTICATION_CLASSES': (
        'rest_framework.authentication.SessionAuthentication',
    ),
    'DEFAULT_FILTER_BACKENDS': (
        'django_filters.rest_framework.DjangoFilterBackend',
    ),
}
</code><img class="look-more-preCode contentImg-no-view" src="//i2.wp.com/csdnimg.cn/release/blogv2/dist/pc/img/newCodeMoreBlack.png" alt ="" title="">
Integrated swagger
Install dependencies
pip install drf-yasg2
Modify configuration
INSTALLED_APPS = [
...
    'rest_framework',
    'drf_yasg2',
    ...
]
Configuration url
"""
URL configuration for CodeVoyager project.

The `urlpatterns` list routes URLs to views. For more information please see:
    https://docs.djangoproject.com/en/4.2/topics/http/urls/
Examples:
Function views
    1. Add an import: from my_app import views
    2. Add a URL to urlpatterns: path('', views.home, name='home')
Class-based views
    1. Add an import: from other_app.views import Home
    2. Add a URL to urlpatterns: path('', Home.as_view(), name='home')
Including another URLconf
    1. Import the include() function: from django.urls import include, path
    2. Add a URL to urlpatterns: path('blog/', include('blog.urls'))
"""
from django.contrib import admin
from django.urls import path, include
from drf_yasg2 import openapi
from drf_yasg2.views import get_schema_view
from CodeVoyager import permissions

schema_view = get_schema_view(
    openapi.Info(
        title='Full Stack Explorer',
        default_version='v1',
        description='Full stack explorer interface document',
    ),
    public=True,
    permission_classes=(permissions.AllowAny,),
)

urlpatterns = [
    path('swagger-ui/', schema_view.with_ui('swagger', cache_timeout=0), name='schema-swagger-ui'),
    # path('api-auth/', include('rest_framework.urls')),
    path('admin/', admin.site.urls),
]
</code><img class="look-more-preCode contentImg-no-view" src="//i2.wp.com/csdnimg.cn/release/blogv2/dist/pc/img/newCodeMoreBlack.png" alt ="" title="">
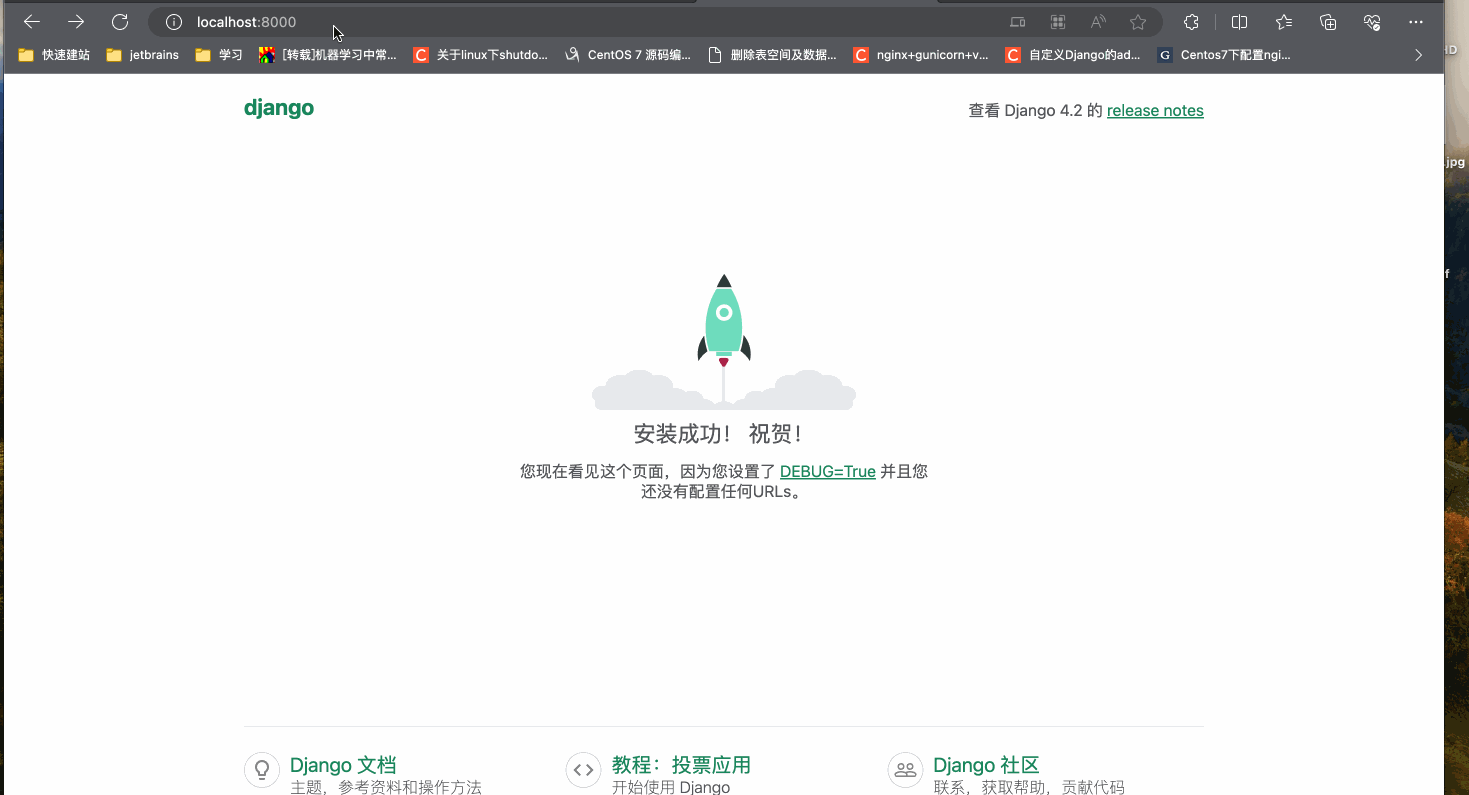
Whether the test is normal

Fixed version
pip freeze > requirements.txt
If an error is reported due to version issues between python libraries during use, please use the following dependencies:
asgiref==3.7.2
async-timeout==4.0.3
certifi==2023.7.22
charset-normalizer==3.3.2
coreapi==2.3.3
coreschema==0.0.4
Django==4.1.4
django-cors-headers==4.3.0
django-filter==23.3
django-redis==5.4.0
djangorestframework==3.13.1
drf-yasg2==1.19.4
idna==3.4
importlib-metadata==6.8.0
reflection==0.5.1
types==1.2.0
Jinja2==3.1.2
Markdown==3.5.1
MarkupSafe==2.1.3
mysqlclient==2.2.0
packaging==23.2
pytz==2023.3.post1
redis==5.0.1
requests==2.31.0
ruamel.yaml==0.18.5
ruamel.yaml.clib==0.2.8
six==1.16.0
sqlparse==0.4.4
typing_extensions==4.8.0
uritemplate==4.1.1
urllib3==2.0.7
zipp==3.17.0
</code><img class="look-more-preCode contentImg-no-view" src="//i2.wp.com/csdnimg.cn/release/blogv2/dist/pc/img/newCodeMoreBlack.png" alt ="" title="">
pip install -Ur requirements.txt