Python has won the favor of many developers with its concise code. This has prompted more developers to use Python to develop new modules, thus forming a virtuous cycle. Python can achieve many interesting operations with shorter code. Let’s take a look at what interesting functions we can achieve with no more than 10 lines of code.
1. Generate QR code
QR code is also called 2D barcode. The common QR code is QR Code. QR stands for Quick Response. It is a very popular encoding method on mobile devices in recent years. Generating a QR code is also very simple. In Python, we can generate QR codes through the MyQR module. To generate a QR code, we only need 2 lines of code. We first install the MyQR module. Here we choose the domestic source download:
pip install qrcode
copy
After the installation is complete we can start writing code:
import qrcode

text = input(Enter text or URL:)
# When setting the URL, http:// must be added
img =qrcode.make(text)
img.save()
#Save the image to the local directory, you can set the path
img.show()
copy
After we execute the code, a QR code will be generated under the project. Of course we can also enrich the QR code: We first install the MyQR module
pip install myqr
copy
def gakki_code():
    version, level, qr_name = myqr.run(
        words=https://520mg.com/it/#/main/2,
        # It can be a string or a URL (please add http(s):// in front)
        version=1, #Set the highest fault tolerance rate
        level='H',
        # Control the error correction level, the range is L, M, Q, H, increasing from left to right
        picture=gakki.gif,
        # Combine QR code and picture
        colorized=True, # Colored QR code
        contrast=1.0,
         # Used to adjust the contrast of the image, 1.0 represents the original image, smaller values represent lower contrast, larger values represent lower contrast, and vice versa. Default is 1.0
        brightness=1.0,
        # Used to adjust the brightness of the picture. The remaining usage and values are the same as above.
        save_name=gakki_code.gif,
        # Save the name of the file, the format can be jpg, png, bmp, gif
        save_dir=os.getcwd() # Control location

    )
 gakki_code()
copy
The renderings are as follows:

2019011009133846.gif
In addition, MyQR also supports dynamic pictures.
2. Generate word cloud
Word cloud, also called word cloud, is a visually prominent presentation of “keywords” that appear frequently in text data. The rendering of the keywords forms a cloud-like color picture, so that you can understand the main points of the text data at a glance. express meaning.
But as an old coder, I still like to use code to generate my own word cloud. Is it complicated? Will it take a long time? Many texts have introduced various methods, but in fact only 10 lines of python code are needed.
Install necessary libraries first
pip install wordcloud
pip install jieba
pip install matplotlib
copy
import matplotlib.pyplot as plt
from wordcloud import WordCloud
import jieba

text_from_file_with_apath = open('/Users/hecom/23tips.txt').read()

wordlist_after_jieba = jieba.cut(text_from_file_with_apath, cut_all = True)
wl_space_split = .join(wordlist_after_jieba)

my_wordcloud = WordCloud().generate(wl_space_split)

plt.imshow(my_wordcloud)
plt.axis(off)
plt.show()
copy
That’s it, the generated word cloud looks like this:

image.png
Read these 10 lines of code:
Lines 1 to 3 import the drawing library matplotlib, the word cloud generation library wordcloud and jieba’s word segmentation library respectively;
Line 4 is to read a local file. The text used in the code is “Two or three things about R&D management in the eyes of Lao Cao” in this public account.
Lines 5 to 6, use jieba for word segmentation, and separate the results of word segmentation with spaces;
Line 7, generates a word cloud from the segmented text;
In lines 8 to 10, use pyplot to display the word cloud diagram.
This is one of the reasons why I like python, it is simple and clear.
3. Batch cutout
The realization of image cutout requires the help of Baidu’s deep learning tool paddlepaddle. We need to install two modules to quickly implement batch cutout. The first one is PaddlePaddle:
python -m pip install paddlepaddle -i https://mirror.baidu.com/pypi/simple
copy
Another one is the paddlehub model library:
pip install -i https://mirror.baidu.com/pypi/simple paddlehub
copy
Next, we only need 5 lines of code to implement batch cutout:
import os, paddlehub as hub
humanseg = hub.Module(name='deeplabv3p_xception65_humanseg') # Load model
path = 'D:/CodeField/Workplace/PythonWorkplace/GrapImage/' #File directory
files = [path + i for i in os.listdir(path)] # Get the file list
results = humanseg.segmentation(data={'image':files}) # Cutout
copy
The cutout effect is as follows:

image
The left side is the original image, and the right side is the cutout image filled with yellow background.
4. Text emotion recognition
In front of paddlepaddle, natural language processing has become very simple. To realize text emotion recognition, we also need to install PaddlePaddle and Paddlehub. For specific installation, please see the content in 3. Then comes our code part:
import paddlehub as hub
senta = hub.Module(name='senta_lstm') #Load model
sentence = [ # Prepare the sentence to be recognized
    'You are so beautiful', 'You are so ugly', 'I'm so sad', 'I'm not happy', 'This game is fun', 'What a rubbish game',
]
results = senta.sentiment_classify(data={text:sentence}) # Emotion recognition
# Output recognition results
for result in results:
    print(result)
copy
The result of the recognition is a dictionary list:
{'text': 'You are so beautiful', 'sentiment_label': 1, 'sentiment_key': 'positive', 'positive_probs': 0.9602, 'negative_probs' : 0.0398}
{'text': 'You are so ugly', 'sentiment_label': 0, 'sentiment_key': 'negative', 'positive_probs': 0.0033, 'negative_probs': 0.9967 }
{'text': 'I'm so sad', 'sentiment_label': 1, 'sentiment_key': 'positive', 'positive_probs': 0.5324, 'negative_probs': 0.4676 }
{'text': 'I'm not happy', 'sentiment_label': 0, 'sentiment_key': 'negative', 'positive_probs': 0.1936, 'negative_probs': 0.8064 }
{'text': 'This game is fun', 'sentiment_label': 1, 'sentiment_key': 'positive', 'positive_probs': 0.9933, 'negative_probs': 0.0067}
{'text': 'What a rubbish game', 'sentiment_label': 0, 'sentiment_key': 'negative', 'positive_probs': 0.0108, 'negative_probs': 0.9892 }
copy
The sentiment_key field contains sentiment information. For detailed analysis, please see Python natural language processing only requires 5 lines of code.
5. Identify whether you are wearing a mask
Here we also use PaddlePaddle products. We installed PaddlePaddle and Paddlehub according to the above steps, and then started writing code:
import paddlehub as hub
#Load model
module = hub.Module(name='pyramidbox_lite_mobile_mask')
# Picture list
image_list = ['face.jpg']
# Get image dictionary
input_dict = {'image':image_list}
# Check whether you are wearing a mask
module.face_detection(data=input_dict)
copy
After executing the above program, the detection_result folder will be generated under the project, and the recognition results will be in it. The recognition effect is as follows:

image
6. Simple information bombing
There are many ways to control input devices in Python. We can use the win32 or pynput module. We can achieve the effect of information bombing through simple loop operations. Taking pynput as an example, we need to install the module first:
pip install -i https://pypi.tuna.tsinghua.edu.cn/simple/ pynput
copy
Before writing the code, we need to manually obtain the coordinates of the input box:
from pynput import mouse
#Create a mouse
m_mouse = mouse.Controller()
# Output mouse position
print(m_mouse.position)
copy
There may be a more efficient way, but I won’t.
After obtaining it, we can record the coordinates and do not move the message window. Then we execute the following code and switch the window to the message page:
import time
from pynput import mouse, keyboard
time.sleep(5)
m_mouse = mouse.Controller() # Create a mouse
m_keyboard = keyboard.Controller() # Create a keyboard
m_mouse.position = (850, 670) # Move the mouse to the specified position
m_mouse.click(mouse.Button.left) # Click the left mouse button
while(True):
    m_keyboard.type('Hello') # Typing
    m_keyboard.press(keyboard.Key.enter) # Press enter
    m_keyboard.release(keyboard.Key.enter) # Release enter
    time.sleep(0.5) # Wait 0.5 seconds
copy
I admit, this is more than 10 lines of code, and it’s not high-end either. The effect of sending messages to the trumpet through QQ before using is as follows:

7. Recognize text in pictures
We can use Tesseract to identify text in pictures. It is very simple to implement in Python, but downloading files and configuring environment variables in the early stage is a bit cumbersome, so this article only shows the code:
import pytesseract
from PIL import Image
img = Image.open('text.jpg')
text = pytesseract.image_to_string(img)
print(text)
copy
Where text is the recognized text. If you are not satisfied with the accuracy, you can also use Baidu’s universal text interface.
8. Simple mini-games
It feels very efficient to get started with some small examples.
import random
print(1-100 number guessing game!)
num = random.randint(1,100)
guess=guess

i = 0
while guess != num:
    i+=1
    guess = int(input(please enter the number you guessed:))

    if guess == num:
        print(Congratulations, you guessed it right!)
    elif guess < num:
        print(your guess is too small...)
    else:
        print(your guess is too big...)

print(You guessed %d %i + times in total)
copy
Practice guessing on small cases in front of you
About Python’s technical reserves
Here I would like to share with you some free courses for everyone to learn. Below are the screenshots of the courses. Scan the QR code at the bottom to get them all. If the picture is invalid, click on the blue font to jump~Click here
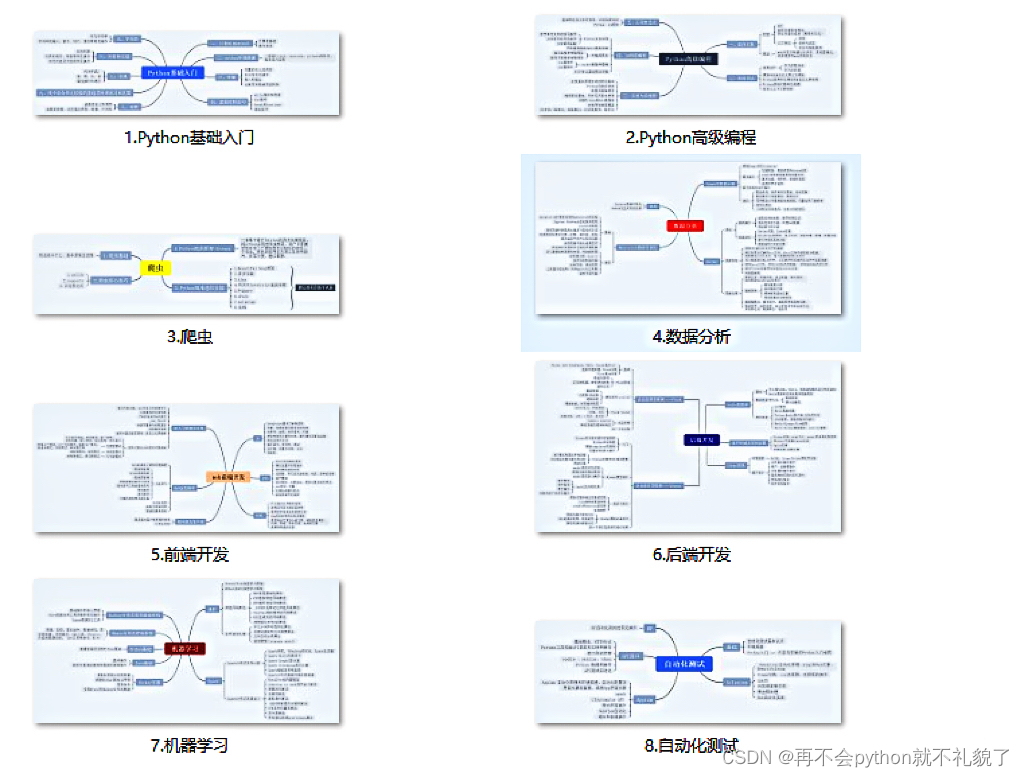
1. Python learning routes in all directions
2. Learning software
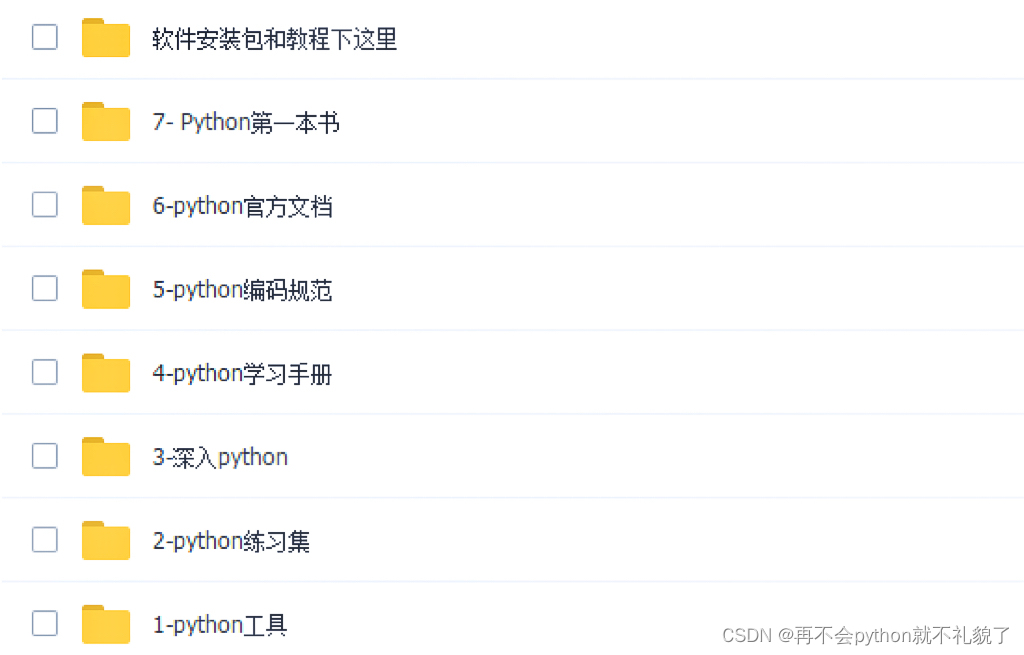
If a worker wants to do his job well, he must first sharpen his tools. The commonly used development software for learning Python is here, saving everyone a lot of time.
3. Study materials
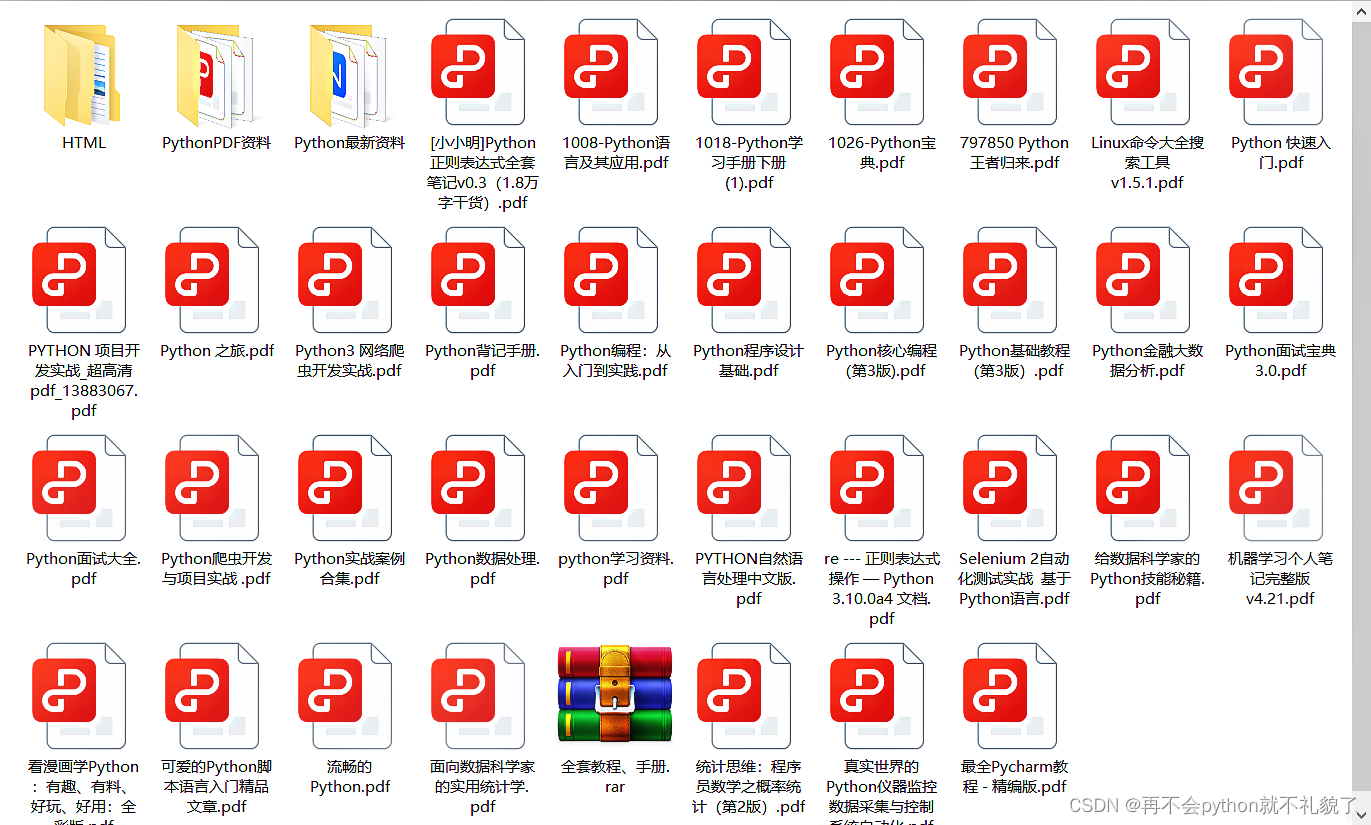
4. Practical information
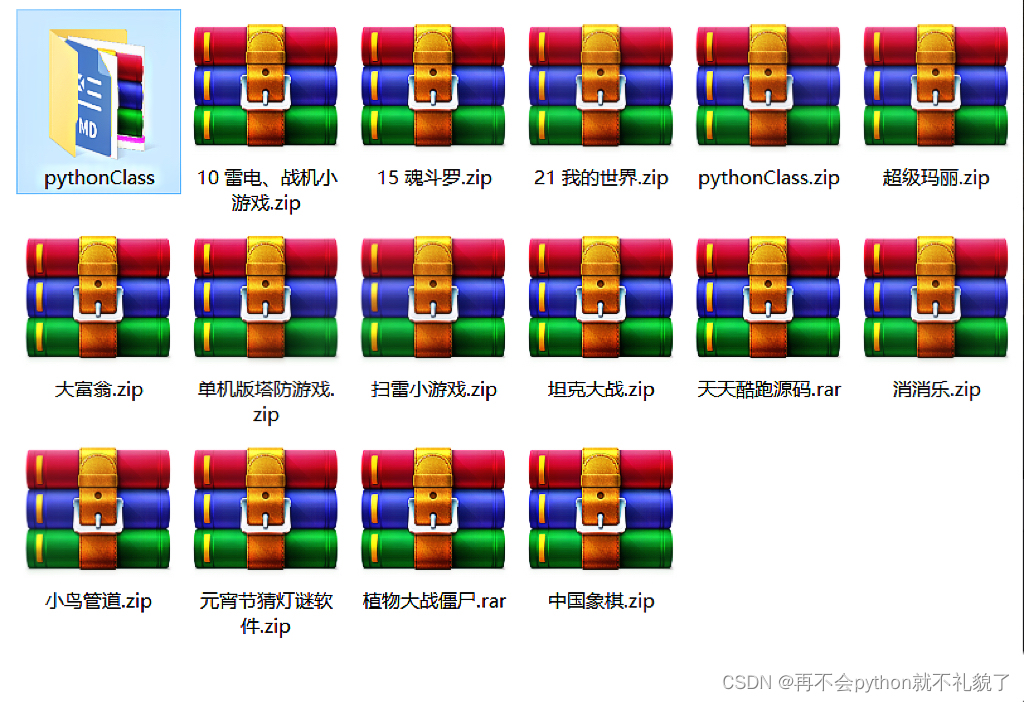
Practice is the only criterion for testing truth. The compressed packages here can help you improve your personal abilities in your spare time.
5. Video course
Well, today’s sharing ends here. Happy time is always short. Friends who want to learn more courses, don’t worry, there are more surprises~