Most of the LayoutManagers involved in the RecyclerView page can basically be solved with the LinearLayoutManager and GridLayoutManager provided by the system, but in some special scenarios we still need to customize the LayoutManager. I have basically never written by myself before. I read various source codes and articles on the Internet. It took me a lot of time to understand the overall process at first, because they all gave me a very, very complicated feeling, including related blog articles. After a period of exploration, I gradually began to understand why it is so complicated. It is indeed not particularly easy to get started. Therefore, I dismantled the overall process and tried to make it as atomic as possible. I summarized my own learning and hoped to help some people get started with LayoutManager.
This article finally implements a simple LinearLayoutManager (only supports VERTICAL) direction, which is suitable for learning and understanding the overall process of LayoutManager. The overall code is divided into multiple files. Each file is a supplement to the previous code for easy understanding. The overall project source code Submitted to Github: LayoutManagerGradually. There are many comments written in the code. If you don’t want to waste time, you can directly watch the code run. Skip this article and run each LayoutManager to experience it and combine it with the code.
Necessary elements for customizing LayoutManager
-
Inherit
RecyclerView.LayoutManagerand implement thegenerateDefaultLayoutParams()method -
Rewrite
onLayoutChildrento add data when the data is filled for the first time -
Override the
canScrollHorizontally()andcanScrollVertically()methods to set the supported sliding direction -
Override the
scrollHorizontallyBy()andscrollVerticallyBy()methods to recycle Views outside the screen when sliding and fill in Views that are about to slide into the screen range. -
Override
scrollToPosition()andsmoothScrollToPosition()method support
Among them, onLayoutChildren and scrollHorizontallyBy/scrollVerticallyBy are the core and most complex methods. Let’s briefly discuss them here.
onLayoutChildren
This method is similar to the onLayout() method of a custom ViewGroup. LayoutManager.onLayoutChildren of RecyclerView will be triggered at the following times:
- When
RecyclerViewis first attached to the window - When the data set of
Adapterchanges - When
RecyclerViewis executedRequetLayout - When
LayoutManagerchanges
scrollHorizontallyBy/scrollVerticallyBy
The main functions of the method include:
-
Update the ItemView’s position: Update the subview’s position on the screen based on the passed vertical scroll distance (dy parameter). Typically the
offsetChildrenVerticalmethod is called. -
Recycling invisible ItemViews: During scrolling, some ItemViews may leave the screen and become invisible. The
scrollVerticallyBymethod is responsible for recycling these subviews and putting them into the recycling pool for later reuse. -
Adding a new ItemView: During scrolling, a new ItemView may need to be displayed on the screen. The
scrollVerticallyBymethod takes reusable views from the recycling pool and adds them to the screen. This usually involves calling thegetViewForPositionmethod ofRecyclerView.Recycler. -
Returns the actual scroll distance: due to the limited number of ItemViews, scrolling may be limited. For example, scrolling may stop when scrolling to the top or bottom of a list. In this case, the actual scrolling distance may be less than the passed
dyparameter. ThescrollVerticallyBymethod needs to return the actual scroll distance so thatRecyclerViewcan correctly update the scroll bar and trigger scroll events.
This is just a brief explanation of the concept. Talk is cheap show me the code. It will be more profound to understand if you look directly at the code.
Step by step implementation
To implement a usable LayoutManger we usually need to implement the following process
- Data populates and only needs to populate the screen bounds of the ItemView
- Recycle ItemView outside the screen
- After the off-screen ItemView returns to the screen, it needs to be repopulated
- Handle sliding boundary boundaries
- Support scrollToPosition and smoothScrollToPosition
We don’t need to achieve the final effect as soon as we start, but step by step to see how LayoutManger gradually changes and finally runs.
0 The simplest LayoutManager
Code view: MostSimpleLayoutManager, we focus on the onLayoutChildren method:
override fun onLayoutChildren(recycler: RecyclerView.Recycler, state: RecyclerView.State?) {<!-- -->
    //Vertical offset
    var offsetTop = 0
    // In actual business, it is best not to load all the data at once. Here is just the simplest demonstration of how the whole thing works.
    for (itemIndex in 0 until itemCount) {<!-- -->
        // Get the view associated with the given location from the adapter
        val itemView = recycler.getViewForPosition(itemIndex)
        //Add the view to RecyclerView
        addView(itemView)
        // Measure and lay out the view
        measureChildWithMargins(itemView, 0, 0)
        // Get the width and height (including ItemDecoration)
        val width = getDecoratedMeasuredWidth(itemView)
        val height = getDecoratedMeasuredHeight(itemView)
        // Layout the sub-View to be added
        layoutDecorated(itemView, 0, offsetTop, width, offsetTop + height)
        offsetTop + = height
    }
}
The above code mainly demonstrates how to add ItemView to RecyclerView using methods such as addView layoutDecorated. The visible code means that all ItemViews (even if they are not visible on the screen) are loaded into the RecyclerView at once. This is generally not done here, but here it is just the simplest demonstration of how the whole thing works.
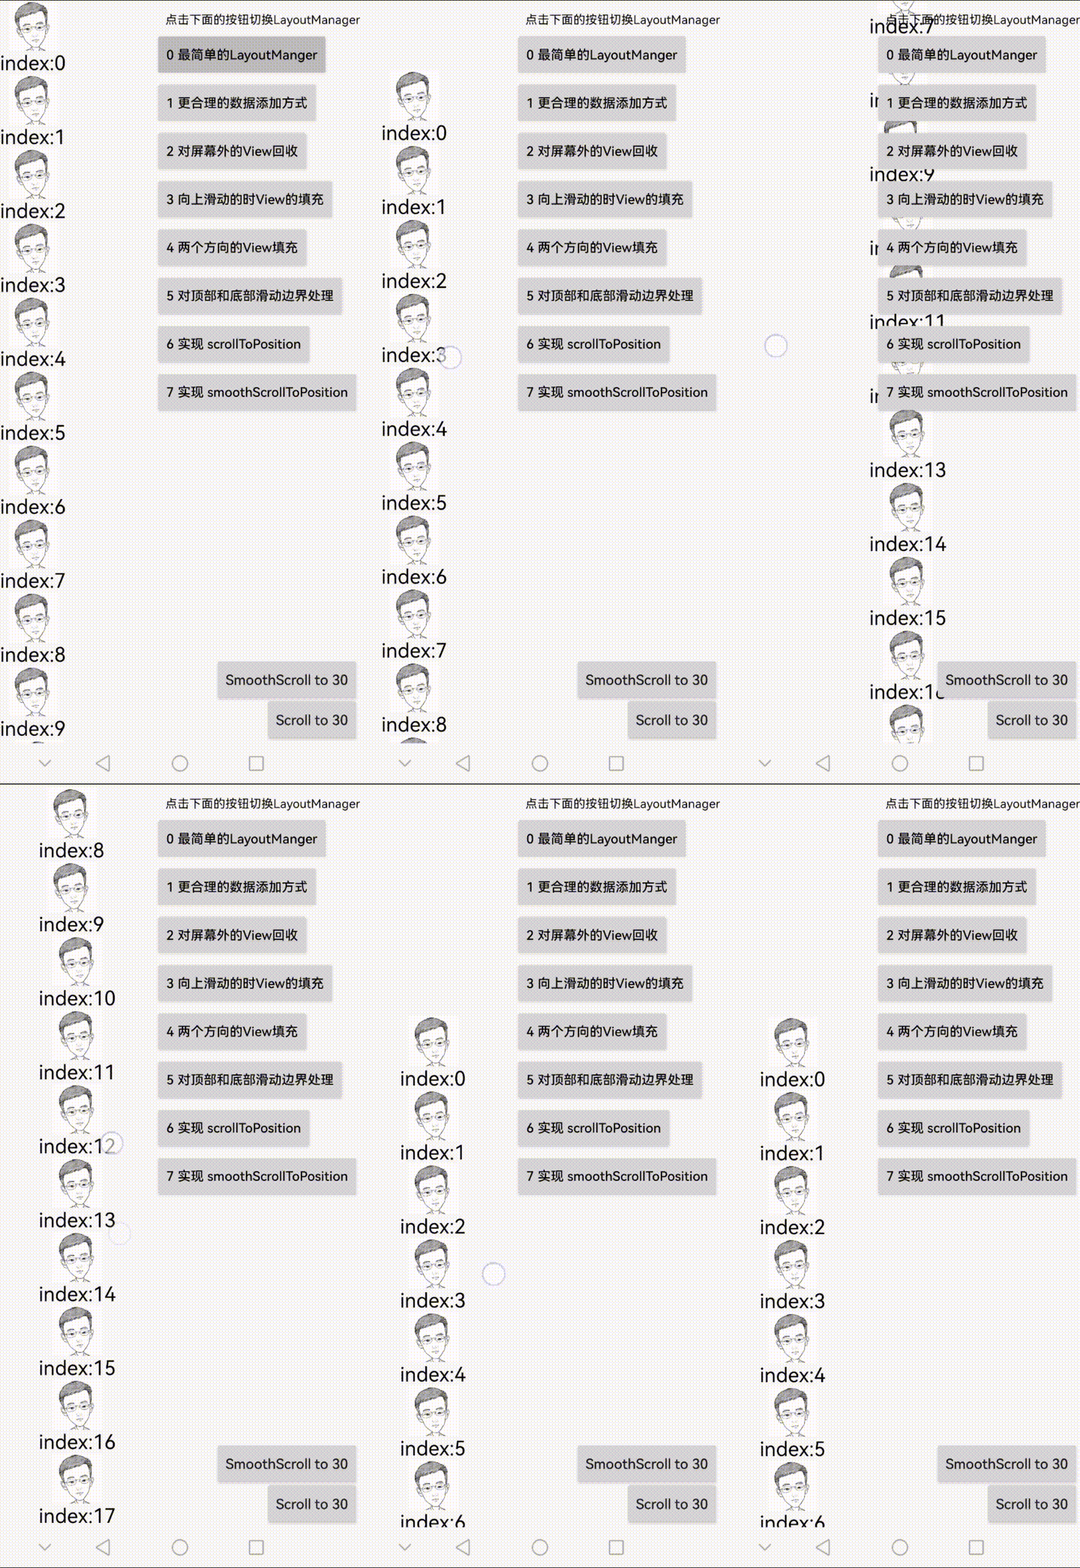
You can see this effect when running on a mobile phone: All item data has been added to the interface, and sliding in all directions is supported.
1 A more reasonable way to add data
Code view: LinearLayoutManager1.kt
Optimize the initial code and only add data to the area within the screen range, so that there is no need to add all the data at once. If the ItemCount of the Adapter is large enough for all addView, it will easily cause OOM.
override fun onLayoutChildren(recycler: RecyclerView.Recycler, state: RecyclerView.State) {<!-- -->
    //The size of the space in the vertical direction
    var remainSpace = height - paddingTop
    //Vertical offset
    var offsetTop = 0
    var currentPosition = 0
    while (remainSpace > 0 & amp; & amp; currentPosition < state.itemCount) {<!-- -->
        // Get the view associated with the given location from the adapter
        val itemView = recycler.getViewForPosition(currentPosition)
        //Add the view to RecyclerView
        addView(itemView)
        // Measure and lay out the view
        measureChildWithMargins(itemView, 0, 0)
        // Get the width and height (including ItemDecoration)
        val itemWidth = getDecoratedMeasuredWidth(itemView)
        val itemHeight = getDecoratedMeasuredHeight(itemView)
        // Layout the sub-View to be added
        layoutDecorated(itemView, 0, offsetTop, itemWidth, offsetTop + itemHeight)
        offsetTop + = itemHeight
        currentPosition + +
        // available space reduced
        remainSpace -= itemHeight
    }
}
2 Recycling off-screen Views
Code view: LinearLayoutManager2
How can RecylerView work without recycler? When the ItemView of RecylerView slides out of the screen, we need to align it for recycling. To implement this, it needs to be in scrollVerticallyBy. The more complicated logic is how to judge: the ItemView is outside the screen, and finally use: removeAndRecycleView method to recycle
override fun scrollVerticallyBy(dy: Int, recycler: RecyclerView.Recycler, state: RecyclerView.State?): Int {<!-- -->
      // Handle the up and down scrolling logic here, dy represents the scrolling distance
      // Pan all subviews
      offsetChildrenVertical(-dy)
      // If the actual scrolling distance is the same as dy, return dy; if there is no scrolling, return 0
      recycleInvisibleView(dy, recycler)
      return dy
}

/**
 * Recycle ItemView that cannot be seen on the interface
 *
 * @param dy
 * @param recycler
 */
private fun recycleInvisibleView(dy: Int, recycler: RecyclerView.Recycler) {<!-- -->
    val totalSpace = orientationHelper.totalSpace

    // The collection of Views will be recycled
    val recycleViews = hashSetOf<View>()
    //Swipe from bottom to top
    if (dy > 0) {<!-- -->
        for (i in 0 until childCount) {<!-- -->
            val child = getChildAt(i)!!
            //Swipe from bottom to top and start counting from the top item
            val top = getDecoratedTop(child)
            // Determine whether the top item is completely invisible. If it is visible, it means that the bottom item is also visible.
            val height = top - getDecoratedBottom(child)
            if (height - top < 0) {<!-- -->
                break
            }
            recycleViews.add(child)
        }
    } else if (dy < 0) {<!-- --> // Slide down from top
        for (i in childCount - 1 downTo 0) {<!-- -->
            val child = getChildAt(i)!!
            //Scroll down from top to bottom and start counting from the bottom item
            val bottom = getDecoratedBottom(child)
            // Determine whether the bottom item is completely invisible. If it is visible, it means that the item above is also visible.
            val height = bottom - getDecoratedTop(child)
            if (bottom - totalSpace < height) {<!-- -->
                break
            }
            recycleViews.add(child)
        }
    }

    //The logic of actually removing the View
    for (view in recycleViews) {<!-- -->
        // [removeAndRecycleView]
        // Used to remove a view from the view hierarchy and reclaim its resources for reuse when needed
        removeAndRecycleView(view, recycler)
    }
    recycleViews.clear()
}
When running on a mobile phone, you can see this effect: the ItemView that slides out of the screen is recycled.

3 Filling of View when sliding up
Code view: LinearLayoutManager3
override fun scrollVerticallyBy(dy: Int, recycler: RecyclerView.Recycler, state: RecyclerView.State?): Int {<!-- -->
    // populate view
    fillView(dy, recycler)
    //Move view
    offsetChildrenVertical(-dy)
    //Recycle View
    recycleInvisibleView(dy, recycler)
    return dy
}

/**
 * Populate the ItemView that re-enters the screen
 * getChildCount():childCount->The number of ItemViews displayed by RecyclerView in the current screen
 * getItemCount():itemCount->The maximum number of ItemViews, which is the number of data passed by the Adapter
 */
private fun fillView(dy: Int, recycler: RecyclerView.Recycler) {<!-- -->
    val verticalSpace = orientationVerticalHelper.totalSpace
    var remainSpace = 0
    var nextFillPosition = 0
    //Vertical offset
    var offsetTop = 0
    var offsetLeft = 0
    // Swipe from bottom to top, then you need to add data to the bottom
    if (dy > 0) {<!-- -->
        val anchorView = getChildAt(childCount - 1) ?: return
        val anchorPosition = getPosition(anchorView)
        val anchorBottom = getDecoratedBottom(anchorView)
        val anchorLeft = getDecoratedLeft(anchorView)
        remainSpace = verticalSpace - anchorBottom
        // The vertically available data is <0. Unexpectedly, the bottom of the screen is just on the bottom ItemView at this time. We still need to slide up a little... before we can add View
        if (remainSpace < 0) {<!-- -->
            return
        }
        nextFillPosition = anchorPosition + 1
        offsetTop = anchorBottom
        offsetLeft = anchorLeft
        if (nextFillPosition >= itemCount) {<!-- -->
            return
        }
    } else if (dy < 0) {<!-- --> // Slide down from top, then you need to add data to the top
        //no-op does not implement bottom data filling from top to bottom for the time being.
    }

    while (remainSpace > 0 & amp; & amp; nextFillPosition < itemCount) {<!-- -->
        // Get the view associated with the given location from the adapter
        val itemView = recycler.getViewForPosition(nextFillPosition)
        //Add the view to RecyclerView
        addView(itemView)
        // Measure and lay out the view
        measureChildWithMargins(itemView, 0, 0)
        // Get the width and height (including ItemDecoration)
        val itemWidth = getDecoratedMeasuredWidth(itemView)
        val itemHeight = getDecoratedMeasuredHeight(itemView)
        // Layout the child View to be added. Compared with the implementation in onLayoutChildren, offsetLeft is added (because we did not prohibit left and right sliding)
        //Try to change offsetLeft to 0, which is the original state, and then slide left, right, up and down, you will have unexpected gains
        layoutDecorated(itemView, offsetLeft, offsetTop, itemWidth + offsetLeft, offsetTop + itemHeight)
        offsetTop + = itemHeight
        nextFillPosition++
        // available space reduced
        remainSpace -= itemHeight
    }
}
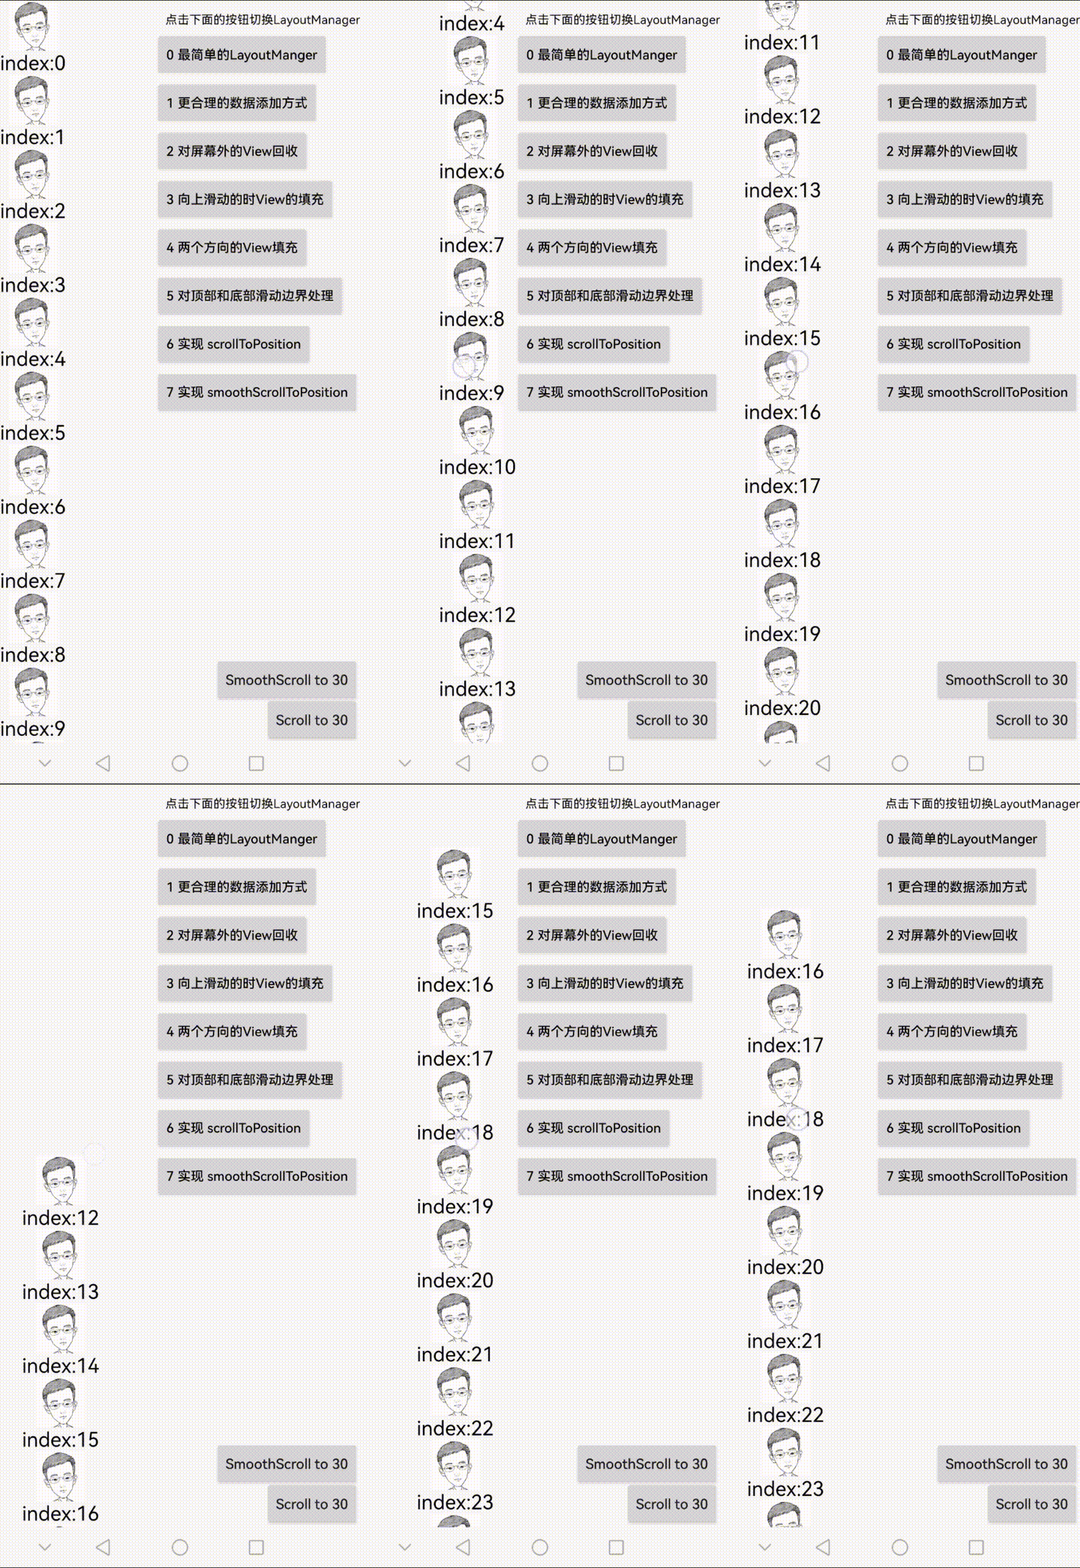
You can see this effect when running on a mobile phone: when you slide up, elements are filled in at the bottom, but when you slide down, there is no data.
4 View filling in two directions
Code view: LinearLayoutManager4
Complete the logic added after sliding down from the top
private fun fillView(dy: Int, recycler: RecyclerView.Recycler) {<!-- -->
    val verticalSpace = orientationVerticalHelper.totalSpace
    var remainSpace = 0
    var nextFillPosition = 0
    //Vertical offset
    var offsetTop = 0
    var offsetLeft = 0

    // Swipe from bottom to top, then you need to add data to the bottom
    if (dy > 0) {<!-- -->
        …
    } else if (dy < 0) {<!-- --> // Slide down from top, then you need to add data to the top
        val anchorView = getChildAt(0) ?: return
        val anchorPosition = getPosition(anchorView)
        val anchorTop = getDecoratedTop(anchorView)
        offsetLeft = getDecoratedLeft(anchorView)
        remainSpace = anchorTop
        // The vertically available data is <0. Unexpectedly, the top of the screen is just on the bottom ItemView at this time. We still need to slide down a little... before we can add View
        if (anchorTop < 0) {<!-- -->
            return
        }
        nextFillPosition = anchorPosition - 1
        if (nextFillPosition < 0) {<!-- -->
            return
        }
        val itemHeight = getDecoratedMeasuredHeight(anchorView)
        //The top position of the new layout itemView should start from anchorTop - itemHeight
        offsetTop = anchorTop - itemHeight
    }

    while (remainSpace > 0 & amp; & amp;
        ((nextFillPosition < itemCount) & amp; & amp; (nextFillPosition >= 0))
    ) {<!-- -->
        // Get the view associated with the given location from the adapter
        val itemView = recycler.getViewForPosition(nextFillPosition)
        //Add the view to the RecyclerView. If you add it from the top, you need to add it to the front position.
        if (dy > 0) {<!-- -->
            addView(itemView)
        } else {<!-- -->
            addView(itemView, 0)
        }
        …
        if (dy > 0) {<!-- -->
            offsetTop + = itemHeight
            nextFillPosition++
        } else {<!-- -->
            offsetTop -= itemHeight
            nextFillPosition--
        }
        // available space reduced
        remainSpace -= itemHeight
    }
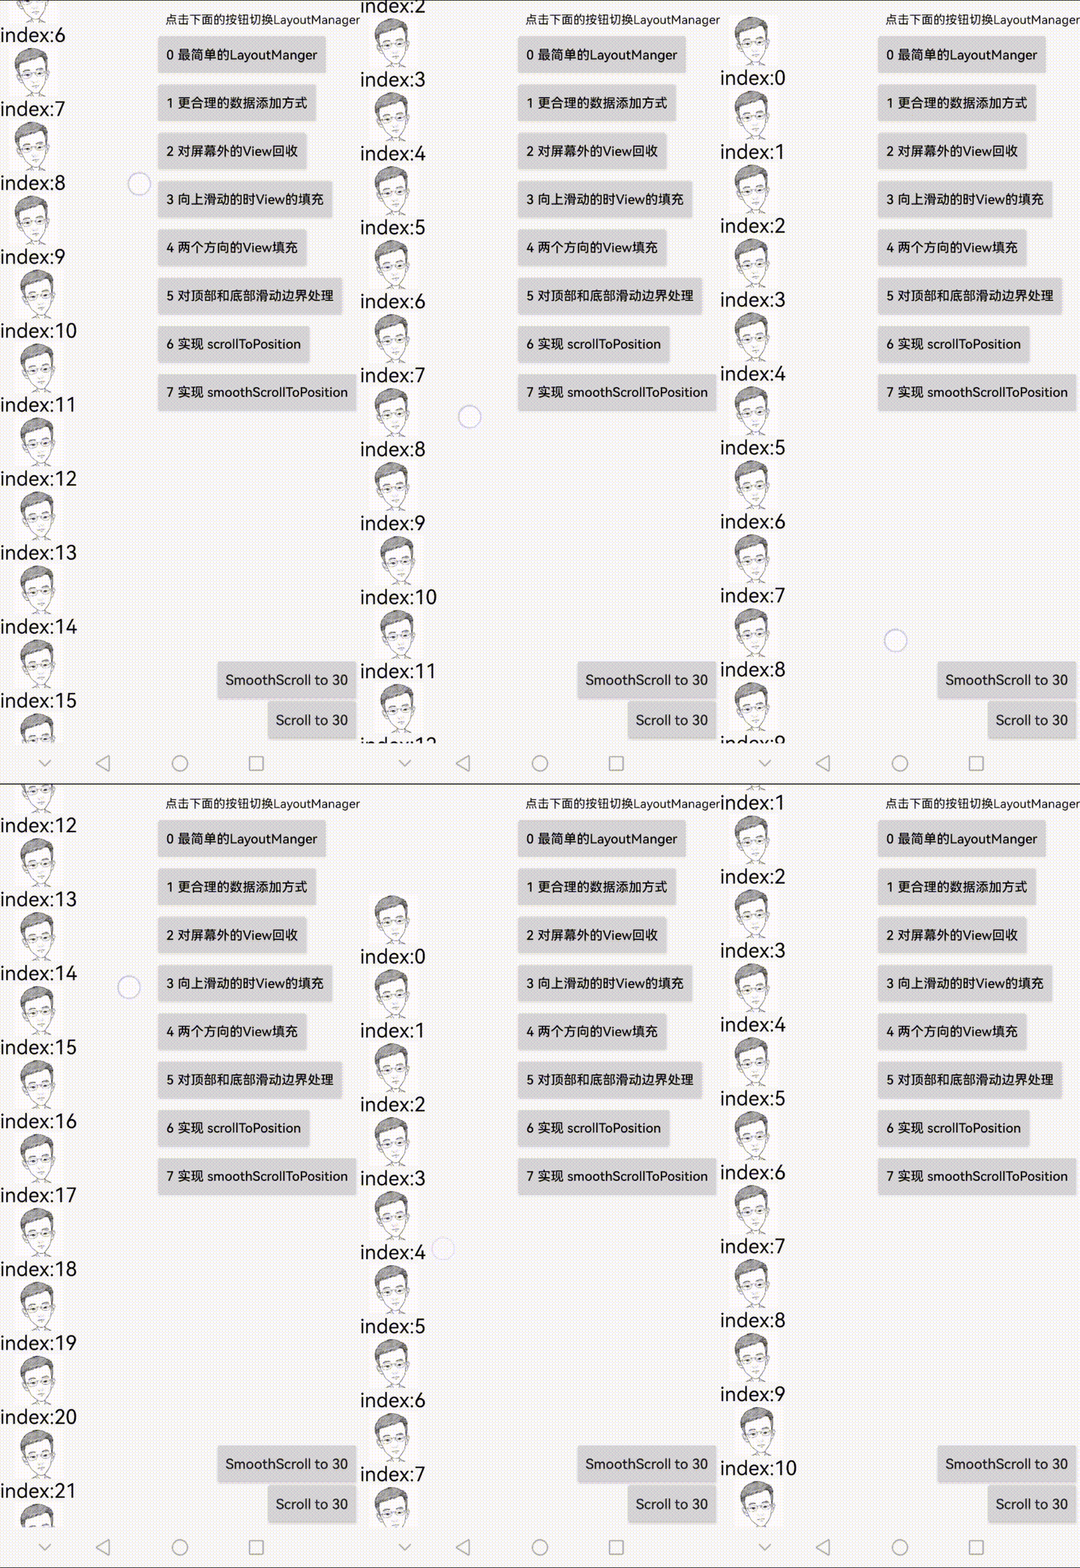
When running on a mobile phone, you can see this effect: when you move upward or slide, the bottom is filled with elements one after another.
5 Handling top and bottom sliding boundaries
Code view: LinearLayoutManager5
For the previous implementation, you will find that constantly sliding down or up will leave a huge blank space. Here, the logic of filling the View is modified and boundary detection is required.
override fun scrollVerticallyBy(dy: Int, recycler: RecyclerView.Recycler, state: RecyclerView.State?): Int {<!-- -->
    // populate view
    val adjustedDy = fillView(dy, recycler)
    //Move view
    offsetChildrenVertical(-adjustedDy)
    //Recycle View
    recycleInvisibleView(adjustedDy, recycler)
    // Since the boundary needs to be restricted, the original dy needs to be corrected, and dy is no longer returned directly here.
    return adjustedDy
}
I have written the overall comments here in the code. You can understand it by looking at the picture. Take sliding up as an example: Assume that the sliding distance this time is very, very large (imagine 10,000 pixels). If you slide directly, we have 50 elements. , each element has a height of 100 pixels, and the maximum height is only 50×100=5000, so a large amount of empty area will be left after sliding. It is necessary to adjust the 10,000 pixels currently passed in: only give the maximum sliding distance, and return 0 if it cannot be slid.

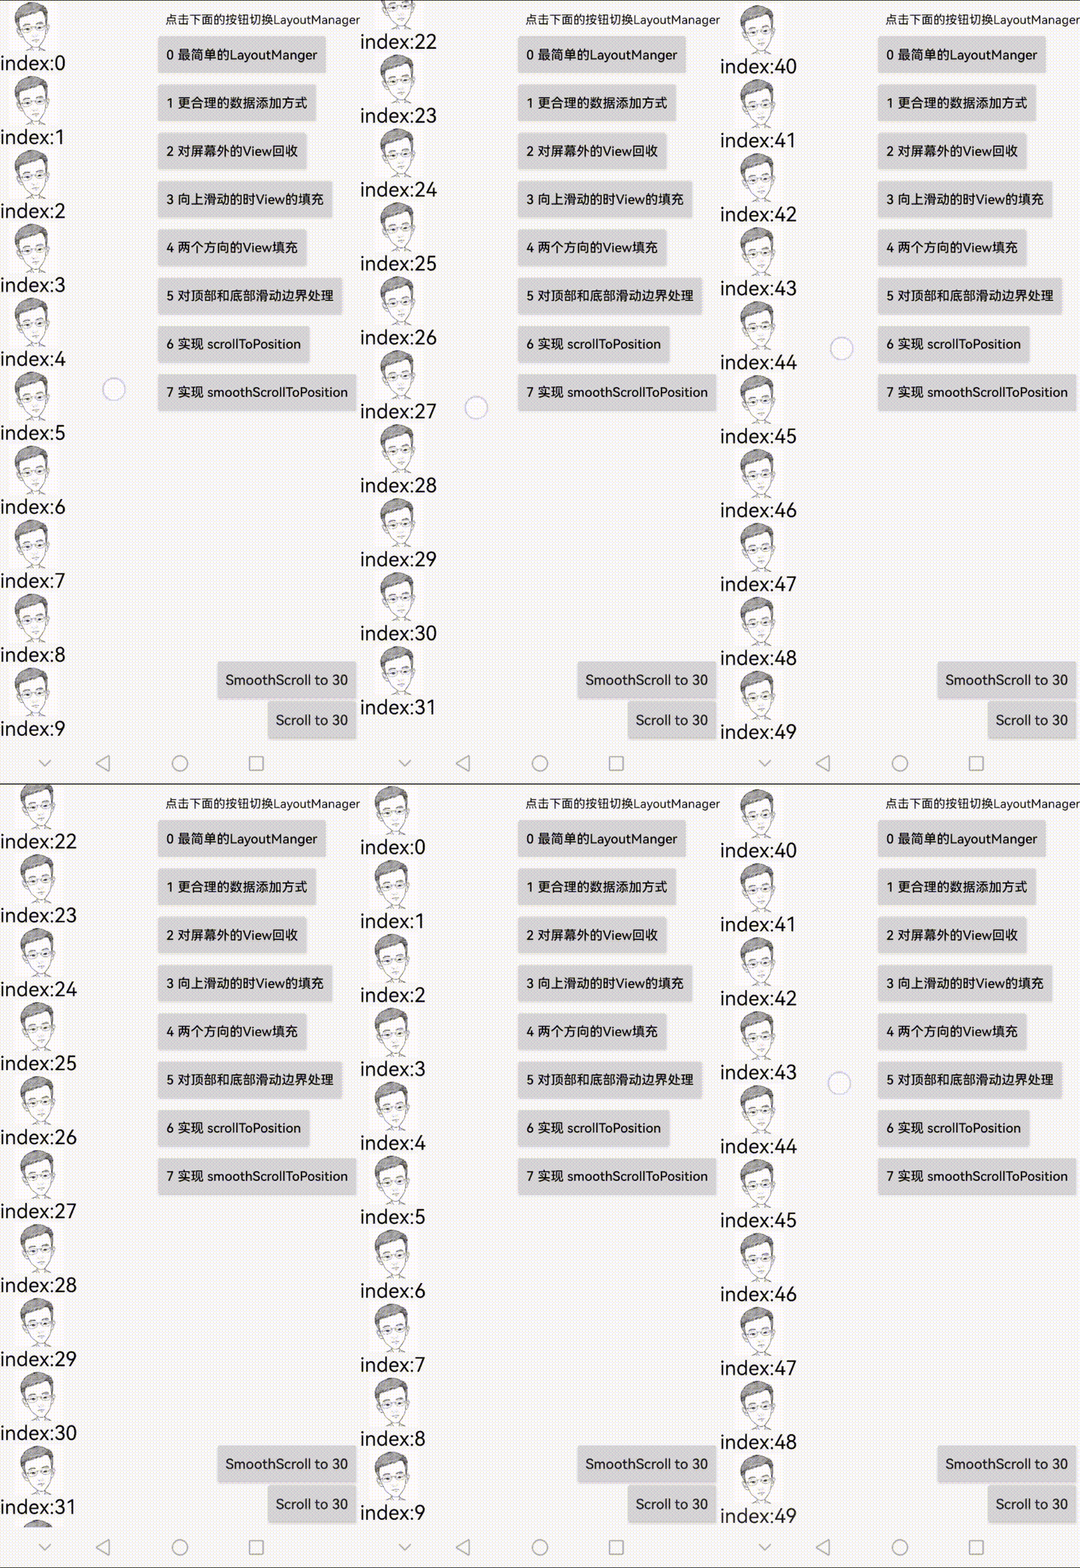
You can see this effect when running on a mobile phone: when you move upward or slide, you can no longer slide when it reaches the maximum position.
6 Implement scrollToPosition
Code view: LinearLayoutManager6
At this point, the LinearLayoutManager seems to be running normally, but it generally needs to support scrollToPosition and smoothScrollToPositio
private var mPendingScrollPosition = RecyclerView.NO_POSITION

override fun scrollToPosition(position: Int) {<!-- -->
    super.scrollToPosition(position)
    if (position < 0 || position >= itemCount) {<!-- -->
        return
    }
    mPendingScrollPosition = position
    requestLayout()
}

override fun onLayoutChildren(recycler: RecyclerView.Recycler, state: RecyclerView.State) {<!-- -->
    …
    var currentPosition = 0
    if (mPendingScrollPosition != RecyclerView.NO_POSITION) {<!-- -->
        currentPosition = mPendingScrollPosition
    }

    while (remainSpace > 0 & amp; & amp; currentPosition < state.itemCount) {<!-- -->
      …… // The logic of filling View
    }
}
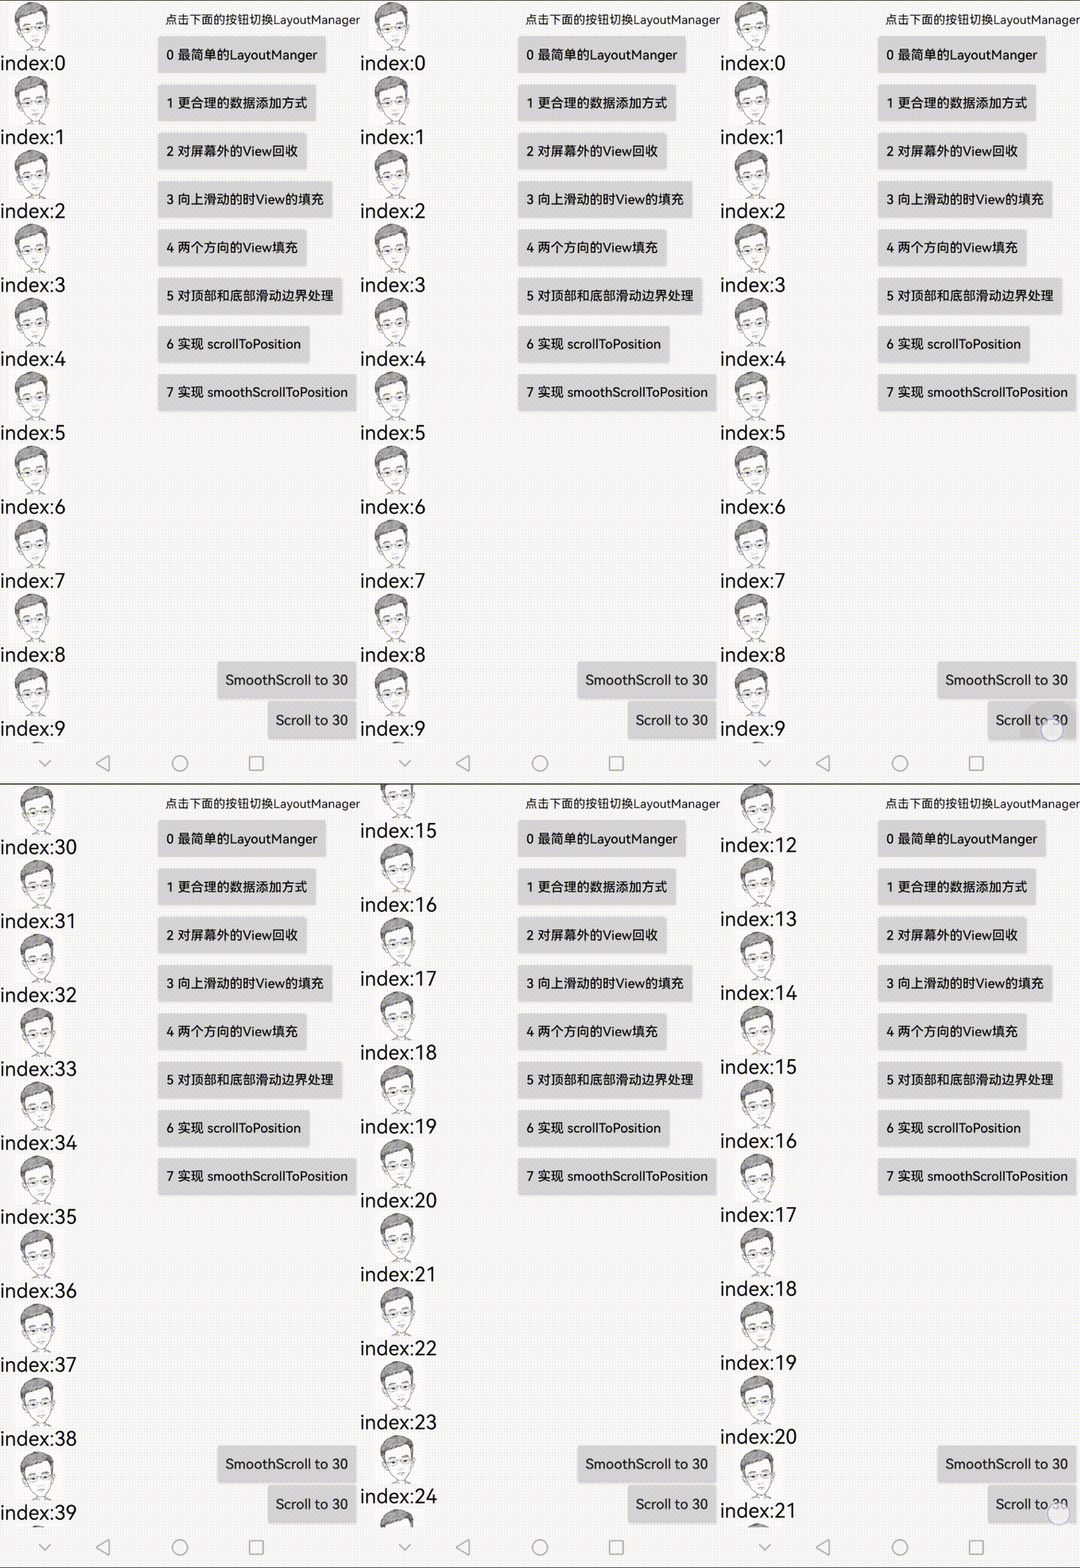
The implementation of scrollToPosition is relatively simple, as shown in the above code: record the target position once during scrollToPosition, and then requestLayout. Remember what I mentioned before: onLayoutChildren will be called once during requestLayout, so the onLayoutChildren logic will be rewritten, no longer starting from the 0th element, but laying out from the target position. .
You can see this effect when running on a mobile phone: clicking scrollTo30 will slide to the 30th position.
7 Implement smoothScrollToPosition
Code view: LinearLayoutManager7
To achieve a customized smoothScrollToPosition animation effect, it is more complicated to implement it completely by yourself. You can directly use the LinearSmoothScroller provided by the system to modify it, or you can inherit RecyclerView.SmoothScroller to customize it, or you can not use SmoothScroller at all and follow the implementation of SmoothScroller. Use a custom animation similar to ValueAnimator, add an animation UpdateListener, and dynamically calculate the layout during onAnimationUpdate to implement sliding animation. Here is an example of LinearSmoothScroller:
override fun smoothScrollToPosition(
    recyclerView: RecyclerView,
    state: RecyclerView.State,
    position: Int
) {<!-- -->
    if (position >= itemCount || position < 0) {<!-- -->
        return
    }

    val scroller: LinearSmoothScroller = object : LinearSmoothScroller(recyclerView.context) {<!-- -->
        /**
         * This method is used to calculate the scroll vector required to scroll to the target position. The scroll vector is a two-dimensional vector that contains the scroll distance in the horizontal and vertical directions.
         *
         * @param targetPosition The target position of sliding
         * @return Returns a PointF object representing the scroll vector.
         * PointF.x represents the scrolling distance in the horizontal direction,
         * PointF.y represents the scrolling distance in the vertical direction
         */
        override fun computeScrollVectorForPosition(targetPosition: Int): PointF {<!-- -->
            //Find the first element displayed on the screen and
            val firstChildPos = getPosition(getChildAt(0)!!)
            val direction = if (targetPosition < firstChildPos) -1 else 1
            // x slides left and right. Since we only implement vertical sliding, the x direction is 0.
            // Integer represents forward movement, negative number represents reverse movement, the size of the value here is not important, the source code will eventually be normalized.
            return PointF(0f, direction.toFloat())
        }

        /**
         * Calculate the speed per pixel
         *
         * @param displayMetrics
         * @return Returns the time consumption of each pixel, in ms. Assuming the return value is 1.0, it means: 1 pixel will slide in 1ms, and 1000 pixels will slide in 1s.
         */
        override fun calculateSpeedPerPixel(displayMetrics: DisplayMetrics?): Float {<!-- -->
            return super.calculateSpeedPerPixel(displayMetrics)
        }

        /**
         * Interpolation of sliding speed (to realize the change of sliding speed with sliding time)
         *
         * @param dx
         * @return
         */
        override fun calculateTimeForDeceleration(dx: Int): Int {<!-- -->
            return super.calculateTimeForDeceleration(dx)
        }
        // Many methods can be used, so I won’t list them one by one.
        // ...
    }
    scroller.targetPosition = position
    // Execute the logic of default animation
    startSmoothScroll(scroller)
}
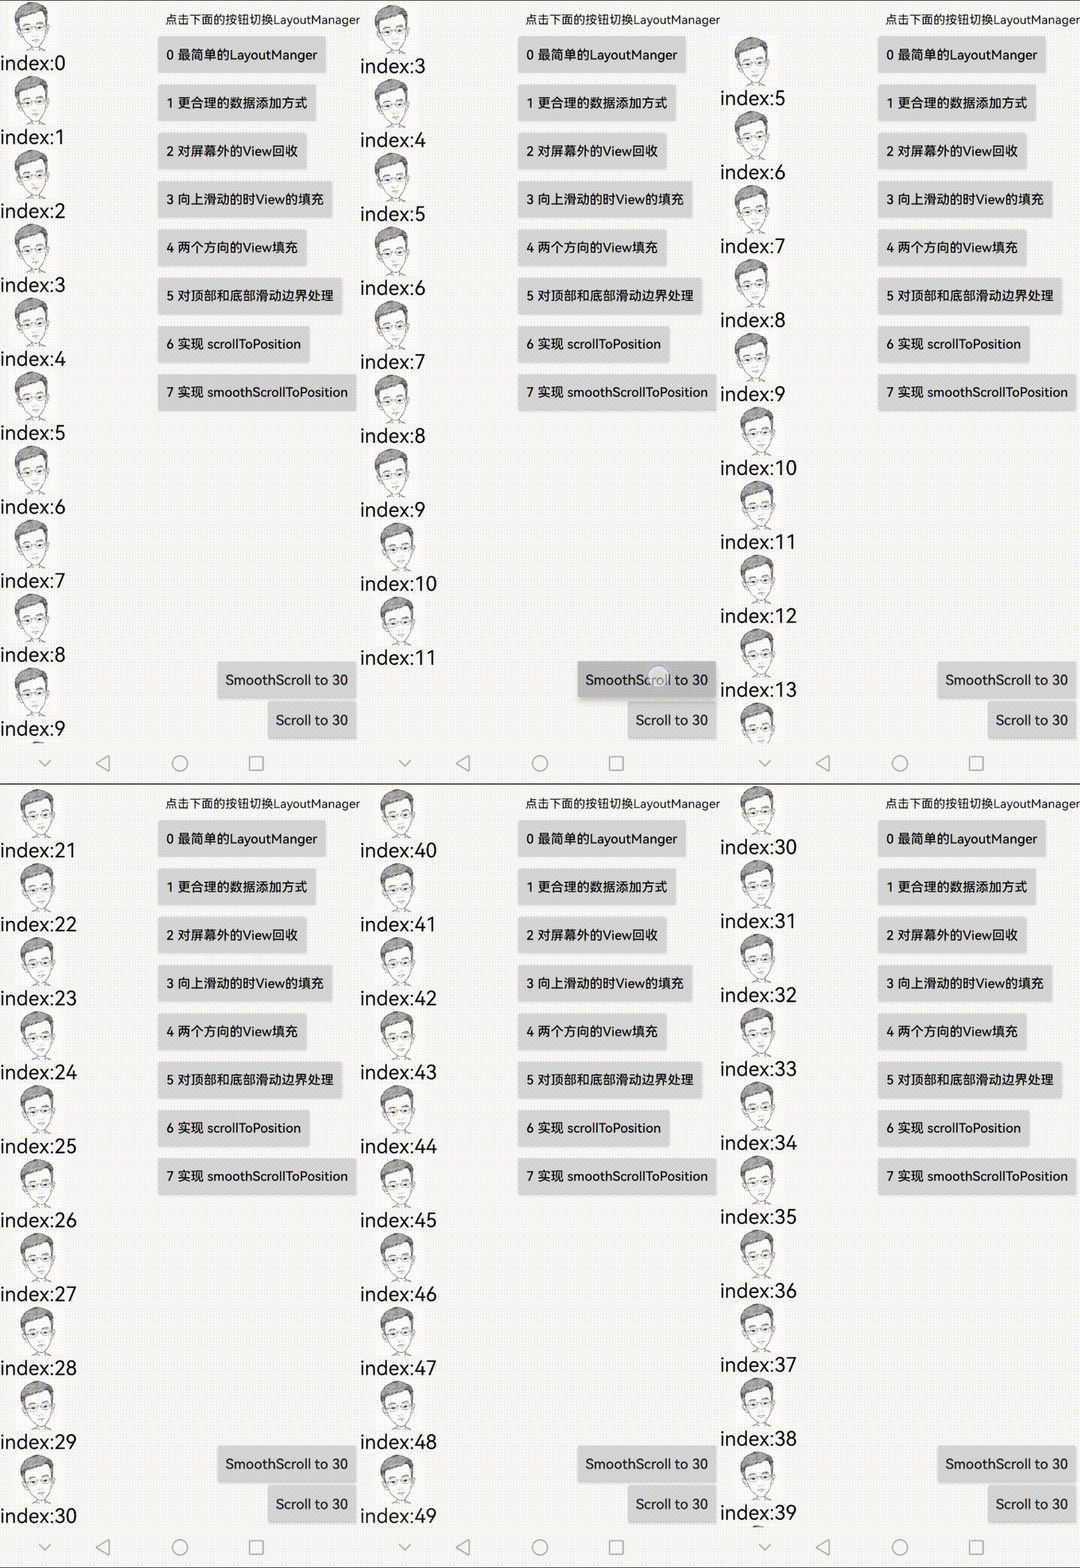
You can see this effect when running on a mobile phone: click smoothScrollTo30 and there will be an animation effect sliding to the 30th position.
The above is basically the prototype of a custom LayoutManager. Although it only realizes sliding in one direction, the principle is the same. The rest is to polish various details. You can add whatever you want. Effects, such as: amplifying a specified position by a certain coefficient, or a more cool sliding animation…
Summary
This article mainly sorts out the necessary elements of custom LayoutManager, as well as the functions and calling timings of its core methods scrollHorizontallyBy/scrollVerticallyBy and onLayoutChildren. Next, the logic of implementing a simple LinearLayoutManger is disassembled, starting from the simplest non-sliding recycling and filling and non-sliding recycling. Including sliding boundary detection, and finally a LinearLayoutManger with basic functions
Source code: https://github.com/VomPom/LayoutManagerGradually
refer to:
“After reading this article, if you still don’t know how to customize LayoutManager, I’m going to eat X!” 》
“/LayoutManager Analysis and Practice”
Building a RecyclerView LayoutManager – Part 1