I believe that most of the back-end students use spring boot to develop in normal development, so when they use the bean factory to register beans, they may encounter Bean named ‘aaa’ is expected to be of type ‘bbb’ but was actually of type ‘bbb’ this error, so what is the cause of this problem? How to solve it? And listen to me explain slowly.
One day when I was developing, I suddenly received a WeChat message from my superior. He said that he encountered such a problem when testing related apis in my project and asked me to solve it immediately. I will send it to everyone.
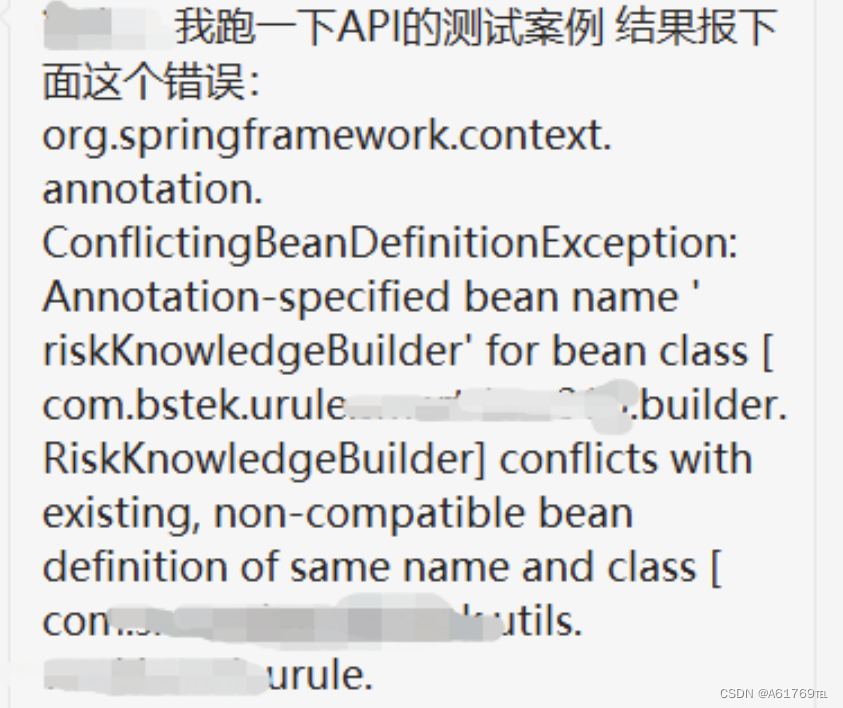
As soon as he saw the message from his superior, he immediately stopped the work at hand and began to quickly analyze and solve the problem. Some students may wonder, this error description is not the same as the title, is it off topic? In fact, after careful analysis, you will find that the error message sent by the superior is actually the root cause of the error Bean named ‘aaa’ is expected to be of type ‘bbb’ but was actually of type ‘bbb’! Literally, it can be known that there are RiskKnowledgeBuilder classes in two different package paths. The names of the beans registered in the bean factory by these two RiskKnowledgeBuilder classes are riskKnowledgeBuilder, so they conflict with each other, which leads to the bean factory in accordance with the name. (byName) to assemble the RiskKnowledgeBuilder class to other classes and find that the name of the bean corresponding to this class is also riskKnowledgeBuilder, but the bean type is already registered and the name is riskKnowledgeBuilder but it is a different type (under different package paths) The RiskKnowledgeBuilder class reports an error. Below I post screenshots of the RiskKnowledgeBuilder classes under these two different package paths, so you can compare them.
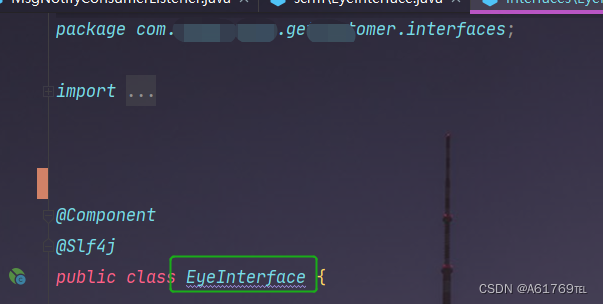
Path 1:
Path 2:
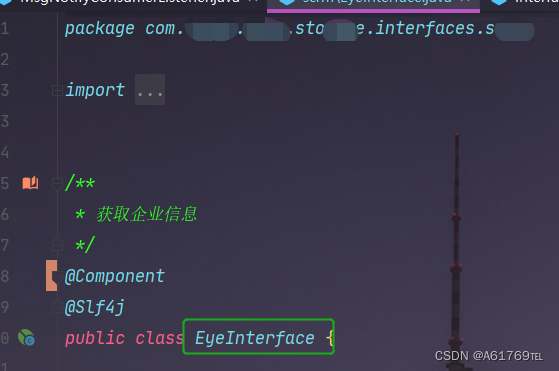
From the above figure, it is not difficult to see that the bean names registered in the bean factory of the two RiskKnowledgeBuilder classes are riskKnowledgeBuilder. Now that the cause is found and the problem is located, it is easy to solve the problem. So how to solve it? It’s actually very simple, just do it in two steps
1. The first step, since the registered bean name is repeated, then we can modify the name of the bean registered by one of the RiskKnowledgeBuilder classes to riskKnowledgeBuilder1, as shown below:
@Component("storageEyeInterface")
@Slf4j
public class EyeInterface {}
2. In the second step, since the bean name registered by the class has been modified, when we assemble the class in other classes, we cannot just use @Autowired (assemble by type) and @Resource (assemble by name) such as Annotation is used to assign beans, because spring will set the bean name to lowercase by default, such as the RiskKnowledgeBuilder above, if the user does not customize the registered bean name, it is in spring The default bean name is riskKnowledgeBuilder. So we can improve in two ways:
The first uses the @Resource annotation (assembly by name):
@Resource(name = "storageEyeInterface")
EyeInterface eyeInterface;
The second uses the @Autowired annotation (to make it also wire by name)*:
@Autowired
@Qualifier("storageEyeInterface")
private EyeInterface eyeInterface;
Following the above steps I quickly fixed the problem, is it easy? When I wrote this blog, I also referred to another blog. That blog was concise and to the point, and it was also good. If you have any doubts about my explanation, you can read the following blog.
Spring boot injected component Bean named ‘XXX’ is expected to be of type ‘TTT’ but was actually of type ‘TTT’
In fact, every time most people see a problem, they will do a crazy Baidu search, Google search, etc., and just want to solve the problem first, but this way, although the problem is solved quickly, Your understanding of the problem is not very thorough. So in fact, we can change the way of thinking to solve the problem. What idea? It’s very simple, that is, the following steps:
- Analyze the root cause of this problem and find the root cause of this error;
- Try to solve problems according to your own understanding, and try and make more mistakes;
- If you still can’t solve it after many attempts, then go to the Internet to search or seek help from others;
- After solving the problem, find a time to think and summarize, such as how to avoid stepping on the same pit next time, and whether there is a better way.