Feed
STM32 connects ESP8266 to send data to OneNET platform
0. Everything you need for the article can be downloaded for free by clicking on the resource package above.
1. Hardware model: ESP8266-01s and USBTTL interface module
2. Firmware: 1471_esp8266-at_mqtt-1m (MQTT transparent transmission AT firmware (firmware number: 1471))
3. Firmware burning tool: flash_download_tool_3.9.4
Firmware download and burning tools can be downloaded from the official website of Essence. Download the Essence AT firmware.
This article uses XCOM V2.6 serial port assistant
4.OneNET platform creates MQTT – WIFI direct connection
5.AT command debugging
6. Possible problems you may encounter
ESP8266 driver code is as follows ||Can be downloaded in the resource package (free)
The code here is serial port 2 written by studying the stm32 tutorial of Jiangke University at Station B.
Station B Jiangke University stm32 serial port learning
The ESP8266 driver refers to the B station up “There is light on the other side and we have a ship”
ESP8266 driver code video
Also included in the resource pack
//MCU header file
#include "stm32f10x.h" // Device header
//C language standard library function
#include <string.h>
#include <stdio.h>
//drive
#include "USART.h"
#include "Delay.h"
#include "OLED.h"
//ESP8266 driver
#include "ESP8266.h"

#define REV_WAIT 1

#define REV_OK 0
//Connect to WIFI
#define ESP8266_WIFI_INFO "AT + CWJAP="WIFI name","WIFI password"\r\\
"
//connect to the server
#define ESP8266_ONENET_INFO "AT + MQTTCONN=0,"mqtts.heclouds.com",1883,1\r\\
"
//Write your own Token
#define ESP8266_USERCFG_INFO "AT + MQTTUSERCFG=0,1,"Device Name","Device ID","Token",0,0,\ ""\r\\
"

const char* pubtopic="$sys/deviceid/devicename/thing/property/post";

unsigned char ESP8266_Buffer[256];

unsigned short ESP8266_cnt = 0, ESP8266_cntPre = 0;
uint8_t RxData;
//================================================ ==========
// Function name: ESP8266_Clear
//
// Function: Clear cache
//
// Entry parameters: None
//
// Return parameters: None
//
//\tillustrate:\t\t
//================================================ ==========
void ESP8266_Clear()
{<!-- -->
memset(ESP8266_Buffer, 0, sizeof(ESP8266_Buffer));
ESP8266_cnt = 0;
}
//================================================ ==========
// Function name: ESP8266_WaitRecive
//
// Function: Wait for reception to complete
//
// Entry parameters: None
//
//Return parameters: REV_OK-reception completed REV_WAIT-reception timeout not completed
//
// Description: Loop call to detect whether reception is completed
//================================================ ==========
uint8_t ESP8266_WaitRecive(void)
{<!-- -->

if(ESP8266_cnt == 0) //If the receiving count is 0, it means that the data is not being received, so jump out directly and end the function
return REV_WAIT;
\t\t
if(ESP8266_cnt == ESP8266_cntPre) //If the last value is the same as this time, the reception is complete
{<!-- -->
ESP8266_cnt = 0; //Clear the receive count to 0
return REV_OK; //Return the reception completion flag
}
\t\t
ESP8266_cntPre = ESP8266_cnt; //Set to the same
\t
return REV_WAIT; //Return the receiving incomplete flag

}
//================================================ ==========
// Function name: ESP8266_SendCmd
//
// Function: Send command
//
// Entry parameters: cmd: command
// res: return instruction that needs to be checked
//
//Return parameters: 0-success 1-failure
//
//\tillustrate:\t\t
//================================================ ==========
uint8_t ESP8266_SendCmd(char *cmd, char *res)
{<!-- -->
\t
unsigned char timeOut = 200;

Serial_SendString(cmd);

while(timeOut--)
{<!-- -->
if(ESP8266_WaitRecive() == REV_OK) //If data is received
{<!-- -->
if(strstr((const char *)ESP8266_Buffer, res) != NULL) //If the keyword is retrieved
{<!-- -->
ESP8266_Clear(); //Clear cache
\t\t\t\t
return 0;
}
}
\t\t
Delay_ms(10);
}
\t
return 1;

}

//================================================ ==========
// Function name: ESP8266_Init
//
// Function: Initialize ESP8266
//
// Entry parameters: None
//
// Return parameters: None
//
//\tillustrate:\t\t
//================================================ ==========
void ESP8266_Init()
{<!-- -->
ESP8266_Clear();
OLED_ShowString(2,1,"0");
//printf("0. AT\r\\
");
while(ESP8266_SendCmd("AT\r\\
", "OK"))
Delay_ms(500);
OLED_ShowString(2,1,"1");
//printf("1. AT + RST\r\\
");
while(ESP8266_SendCmd("AT + RST\r\\
", ""))
Delay_ms(500);
\t
OLED_ShowString(2,1,"2");
//printf("2. CWMODE\r\\
");
while(ESP8266_SendCmd("AT + CWMODE=1\r\\
", "OK"))
Delay_ms(500);
OLED_ShowString(2,1,"3");
//printf( "3. AT + CWDHCP\r\\
");
while(ESP8266_SendCmd("AT + CWDHCP=1,1\r\\
", "OK"))
Delay_ms(500);
OLED_ShowString(2,1,"4");
//printf("4. CWJAP\r\\
");
while(ESP8266_SendCmd(ESP8266_WIFI_INFO, "GOT IP"))
Delay_ms(500);
OLED_ShowString(2,1,"5");
//printf( "5. MQTTUSERCFG\r\\
");
while(ESP8266_SendCmd(ESP8266_USERCFG_INFO, "OK"))
Delay_ms(1000);

OLED_ShowString(2,1,"6");
//printf( "6. MQTTCONN\r\\
");
while(ESP8266_SendCmd(ESP8266_ONENET_INFO, "OK"))
Delay_ms(500);
OLED_ShowString(2,1,"7");
//printf("7. ESP8266 Init OK\r\\
");
}
//================================================ ==========
// Function name: ESP8266_SendData
//
// Function: Send data
//
// Entry parameters: temp: temperature value
// humi: humidity value
// adcx: illumination
//
// Return parameters: None
//
//\tillustrate:\t\t
//================================================ ==========
void ESP8266_SendData(double temp,double humi,double adcx)
{<!-- -->
char cmdBuf[512];
\t
ESP8266_Clear(); //Clear the receive buffer
\t
//First send the instruction to send data to prepare
\t
sprintf(cmdBuf, "AT + MQTTPUB=0,"%s","{\"id\":\ "123\"\,\"params\":{\"temp\ ":{\"value\":%lf\}\,\"humi\\ ":{\"value\":%lf\}\,\"adcx\\ ":{\"value\":%lf\\}}}",0,0\r\\
",pubtopic, temp,humi,adcx); //Send command
while(ESP8266_SendCmd(cmdBuf, "OK"))
Delay_ms(500);
OLED_ShowString(3,1,"8");
memset(cmdBuf,0,sizeof(cmdBuf));
Delay_ms(100);
}
//================================================ ==========
// Function name: USART2_IRQHandler
//
// Function: Serial port 2 transceiver interrupt
//
// Entry parameters: None
//
// Return parameters: None
//
//\tillustrate:\t\t
//================================================ ==========
void USART2_IRQHandler()
{<!-- -->
\t
if(USART_GetITStatus(USART2, USART_IT_RXNE) == SET)
{<!-- -->
RxData = USART_ReceiveData(USART2);
if(ESP8266_cnt >= sizeof(ESP8266_Buffer)) ESP8266_cnt = 0; //Prevent the serial port from being maxed out
ESP8266_Buffer[ESP8266_cnt + + ] = RxData;
USART_ClearITPendingBit(USART2,USART_IT_RXNE);
}
}
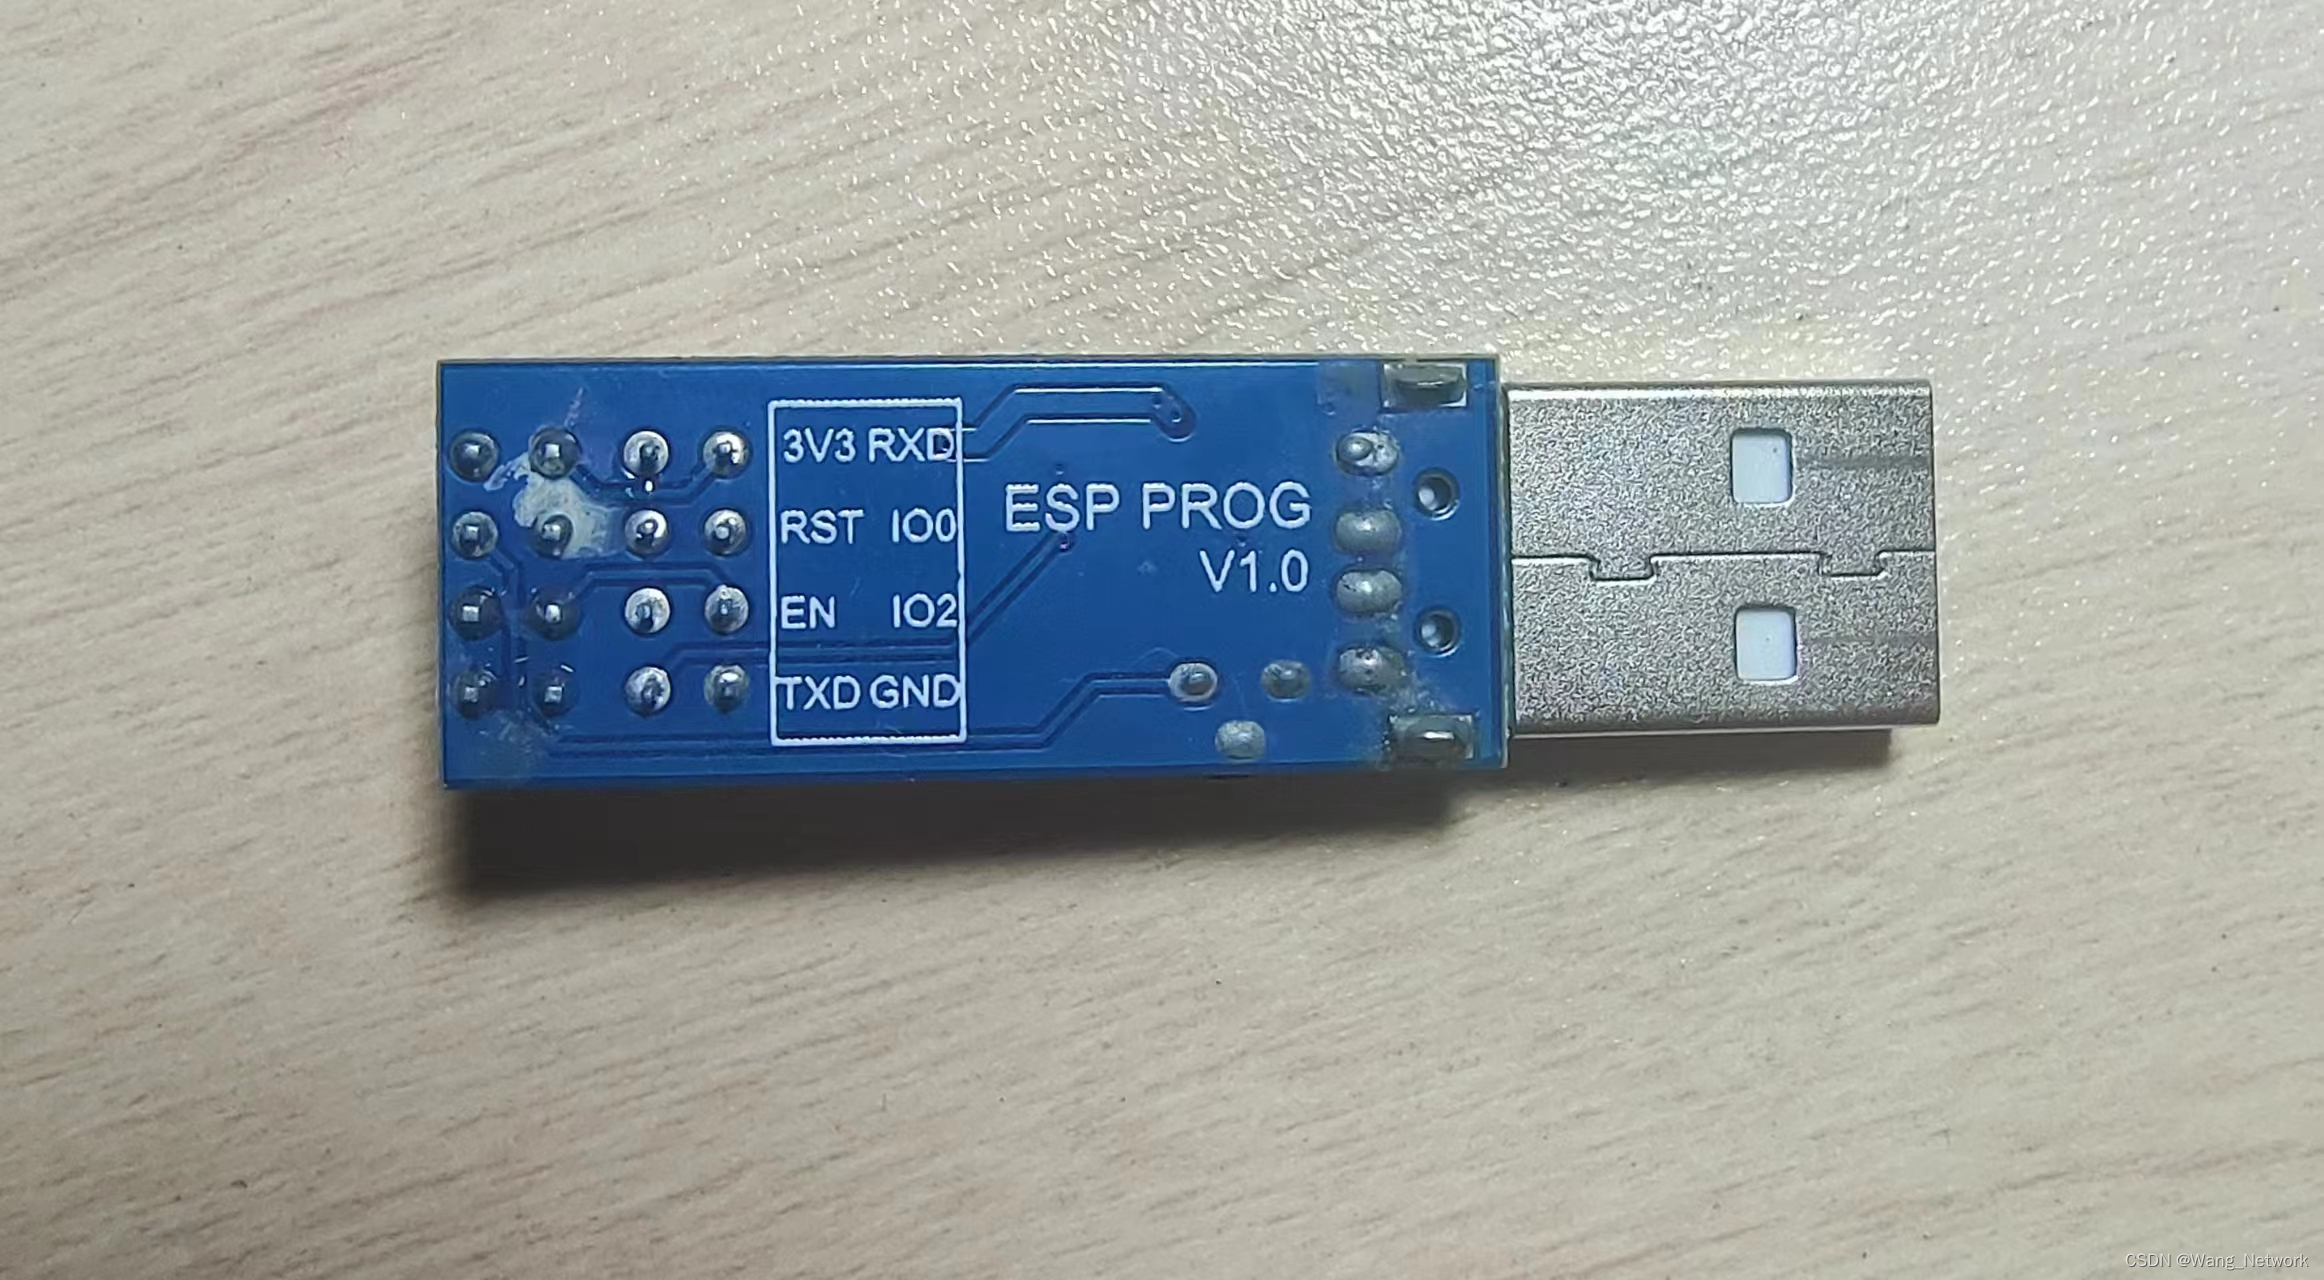
Hardware pictures
Connection
Plug directly into the USB port of your computer
The black button below is the reset button

ESP8266 picture is:


USB adapter

Firmware download
Firmware download address
Download address of burning software and serial port tools

Burning steps
1. Find the firmware and burning software you downloaded, and open your burning software


After successful burning
After the burning is successful, it will be displayed as complete. Just close it and then open a serial port assistant.
Plug your hardware into your device, then open the serial port (corresponding port) and press the black reset button on the hardware
If the code is garbled at first, but ready is displayed at the end, it means the burning is successful.
Send AT command
AT command test ESP8266
First, test whether the AT command is sent normally.
Remember to wrap the line at the end and send it
1.AT //Send a test command. If ESP8266 receives it, it will respond with an "OK"

2.AT + RST //Send a reset command, which is equivalent to pressing the reset button

3.AT + CWMODE=1 //Set to mode one. There are also two modes =2 and =3. We currently only use this one.

4.AT + CWDHCP=1,1 //Start DHCP

5.AT + CWJAP="ESP","123456789" //Connect to your WiFi, with the name in front and password behind
Note that WIFI must be in 2.4G mode

If the AT command is sent as shown in the picture above, it means it can be used normally.
Create MQTT on OneNET (example)
1. Log in or register
OneNET login website
2. After logging in, click Developer Center in the upper right corner
3. Click Product Development in the upper left corner
4. Click Create Product on the right
5. Product Category SelectionSmart City->Environmental Sensing->Temperature and Humidity Detection
6. Select device access in an intelligent way
7.Create as shown in the figure

8. After creation, your product will appear in the list below, then click Product Development on the right
9. Set up object models (you can create multiple)
10. Find the Add custom function point in the middle, as shown in the figure

11. After adding it, remember to order chicken and save it.
12.Token generation, return to the OneNET official website start interface, click Document next to “Developer Center”
Then find the Token generation tool as shown in the picture, which also contains other specific contents.
Token generator download address

13. After the download is completed, open a timestamp conversion URL, and I will just find one in the browser.
Timestamp conversion address

14. Open the Token conversion tool just now

Connect to MQTT
 6.//Set MQTT server properties
  AT + MQTTUSERCFG=0,1,"device name","device id","Paste the Token just generated",0,0,""

7. //Connect to the server
    AT + MQTTCONN=0,"mqtts.heclouds.com",1883,1

8. //Selected object model
    AT + MQTTSUB=0,"$sys/deviceid/devicename/thing/property/post/reply",1

9. //Modify object model data and upload it
     AT + MQTTPUB=0,"$sys/deviceid/devicename/thing/property/post","{"id":"123"\, "params":{"Object model identifier":{"value":data\}}}",0,0
If the transmission is successful, success will be displayed at the end, as shown in the figure below.

The following is the data I sent, which can be seen in the detailed properties of the device.

Possible problems
1.WIFI cannot be connected
You may not be able to connect to WIFI after burning the firmware
Possible solutions: 1. First ensure that the mobile phone’s hotspot or home WIFI is 2.4G, which can be viewed through the mobile phone WIFI.
2. If the 2.4G connection fails, the returned
 + CWJAP 4
ERROR
Then try it a few times, and if it still doesn’t work, use that trick
1. First turn off the password of the mobile hotspot and reset the ESP8266
2. Send AT command AT + CWSAP?
It will reply + CWSAP:"name","",1,0,4,0
If the reply is wrong, reset it and send it a few more times and you may be able to connect.
3. Send AT + CWSAP="WIFI name","",1,0,4,0
If you reply “OK” you can continue
4. You can send your WIFI setting password
AT + CWJAP="WIFI name","password"
That’s it
5. If it still doesn’t work, then check the information yourself. I searched for a long time and found this strange method without knowing the principle, because I encountered this problem and solved it.
It keeps saying an error when connecting to the MQTT server
AT + MQTTCONN=0,"mqtts.heclouds.com",1883,1
I can’t say this sentence.
Possible solution: Download another firmware and test the AT command, and then download this firmware again. Just try multiple times. At least this is how I solved it. I can’t find a reliable solution on the Internet. When sending it, it will return “OK” “of
Summary
1. Subsequent update of MQTT data sending code based on stm32F103c8t6
2. There may still be many problems that you don’t know how to solve. All you can do is check information online and sort and combine them to find the problem.
3. If you have any other questions, you can ask in the comment area or send a private message