
1.Linux editor-vim use
The difference between vi/vim is simply that they are both multi-mode editors. The difference is that vim is an upgraded version of vi. It is not only compatible with all instructions of vi, but also has some new features in it. For example, syntax highlighting and visual operations can be run not only on the terminal, but also on x window, mac os, and windows. We will explain them in accordance with vim.


2.Basic concepts of vim
Vim is a multi-mode editor. There are many subcommands in vim for writing code.
We explain the three modes of vim (actually there are many modes, just master these 3 for now), which are command mode, insert mode and last line mode. The functions of the modes are distinguished as follows:
Normal/Normal/Command mode (Normal mode)
Control the movement of the screen cursor, delete characters, words or lines, move and copy a section and enter Insert mode, or go to last line mode
Insert mode
Text input can only be done in Insert mode. Press the “ESC” key to return to the command line mode. This mode is the one we will use most frequently later.
edit mode
last line mode
Save or exit the file, you can also perform operations such as file replacement, string search, and line number listing. In command mode, press shift + : to enter the mode
Mode. To view all your modes: Open vim and type directly in the bottom line mode

This means that when I click the i key on the keyboard, we can edit the code, and then press Esc to return to our Normal command mode.
3.Basic operations of vim
Enter vim, enter vim and the file name at the system prompt, and then enter the vim full-screen editing screen:
vim test.c
However, one thing to pay special attention to is that after you enter vim, you are in [normal mode], and you need to switch to [insert mode] to enter text.
[Normal mode] switches to [Insert mode]
Enter a
Enter i
Enter o
[Insert mode] switches to [Normal mode]
Currently in [insert mode], you can only keep inputting text. If you find that you have entered a wrong word and want to use the cursor keys to move back and delete the word, you can
You can first click the “ESC” key to go to [Normal Mode] and then delete the text. Of course, you can also delete it directly.
[Normal mode] switches to [Last line mode]
“shift + ;” is actually typing “:”
Exit vim and save the file. In [normal mode], click the “:” colon key to enter “Last line mode”, for example:
:w (save current file)
: wq (enter “wq”, save and exit vim)
: q! (Enter q! to force quit vim without saving)
4.vim normal mode command set
Insert mode
Press “i” to switch to insert mode “insert mode”. After pressing “i” to enter insert mode, you will start inputting files from the current position of the cursor;
After pressing “a” to enter insert mode, text input starts from the position next to the current cursor position;
After pressing “o” to enter insert mode, a new line is inserted, and text is entered starting from the beginning of the line.
Switch from insert mode to command mode
Press the “ESC” key.
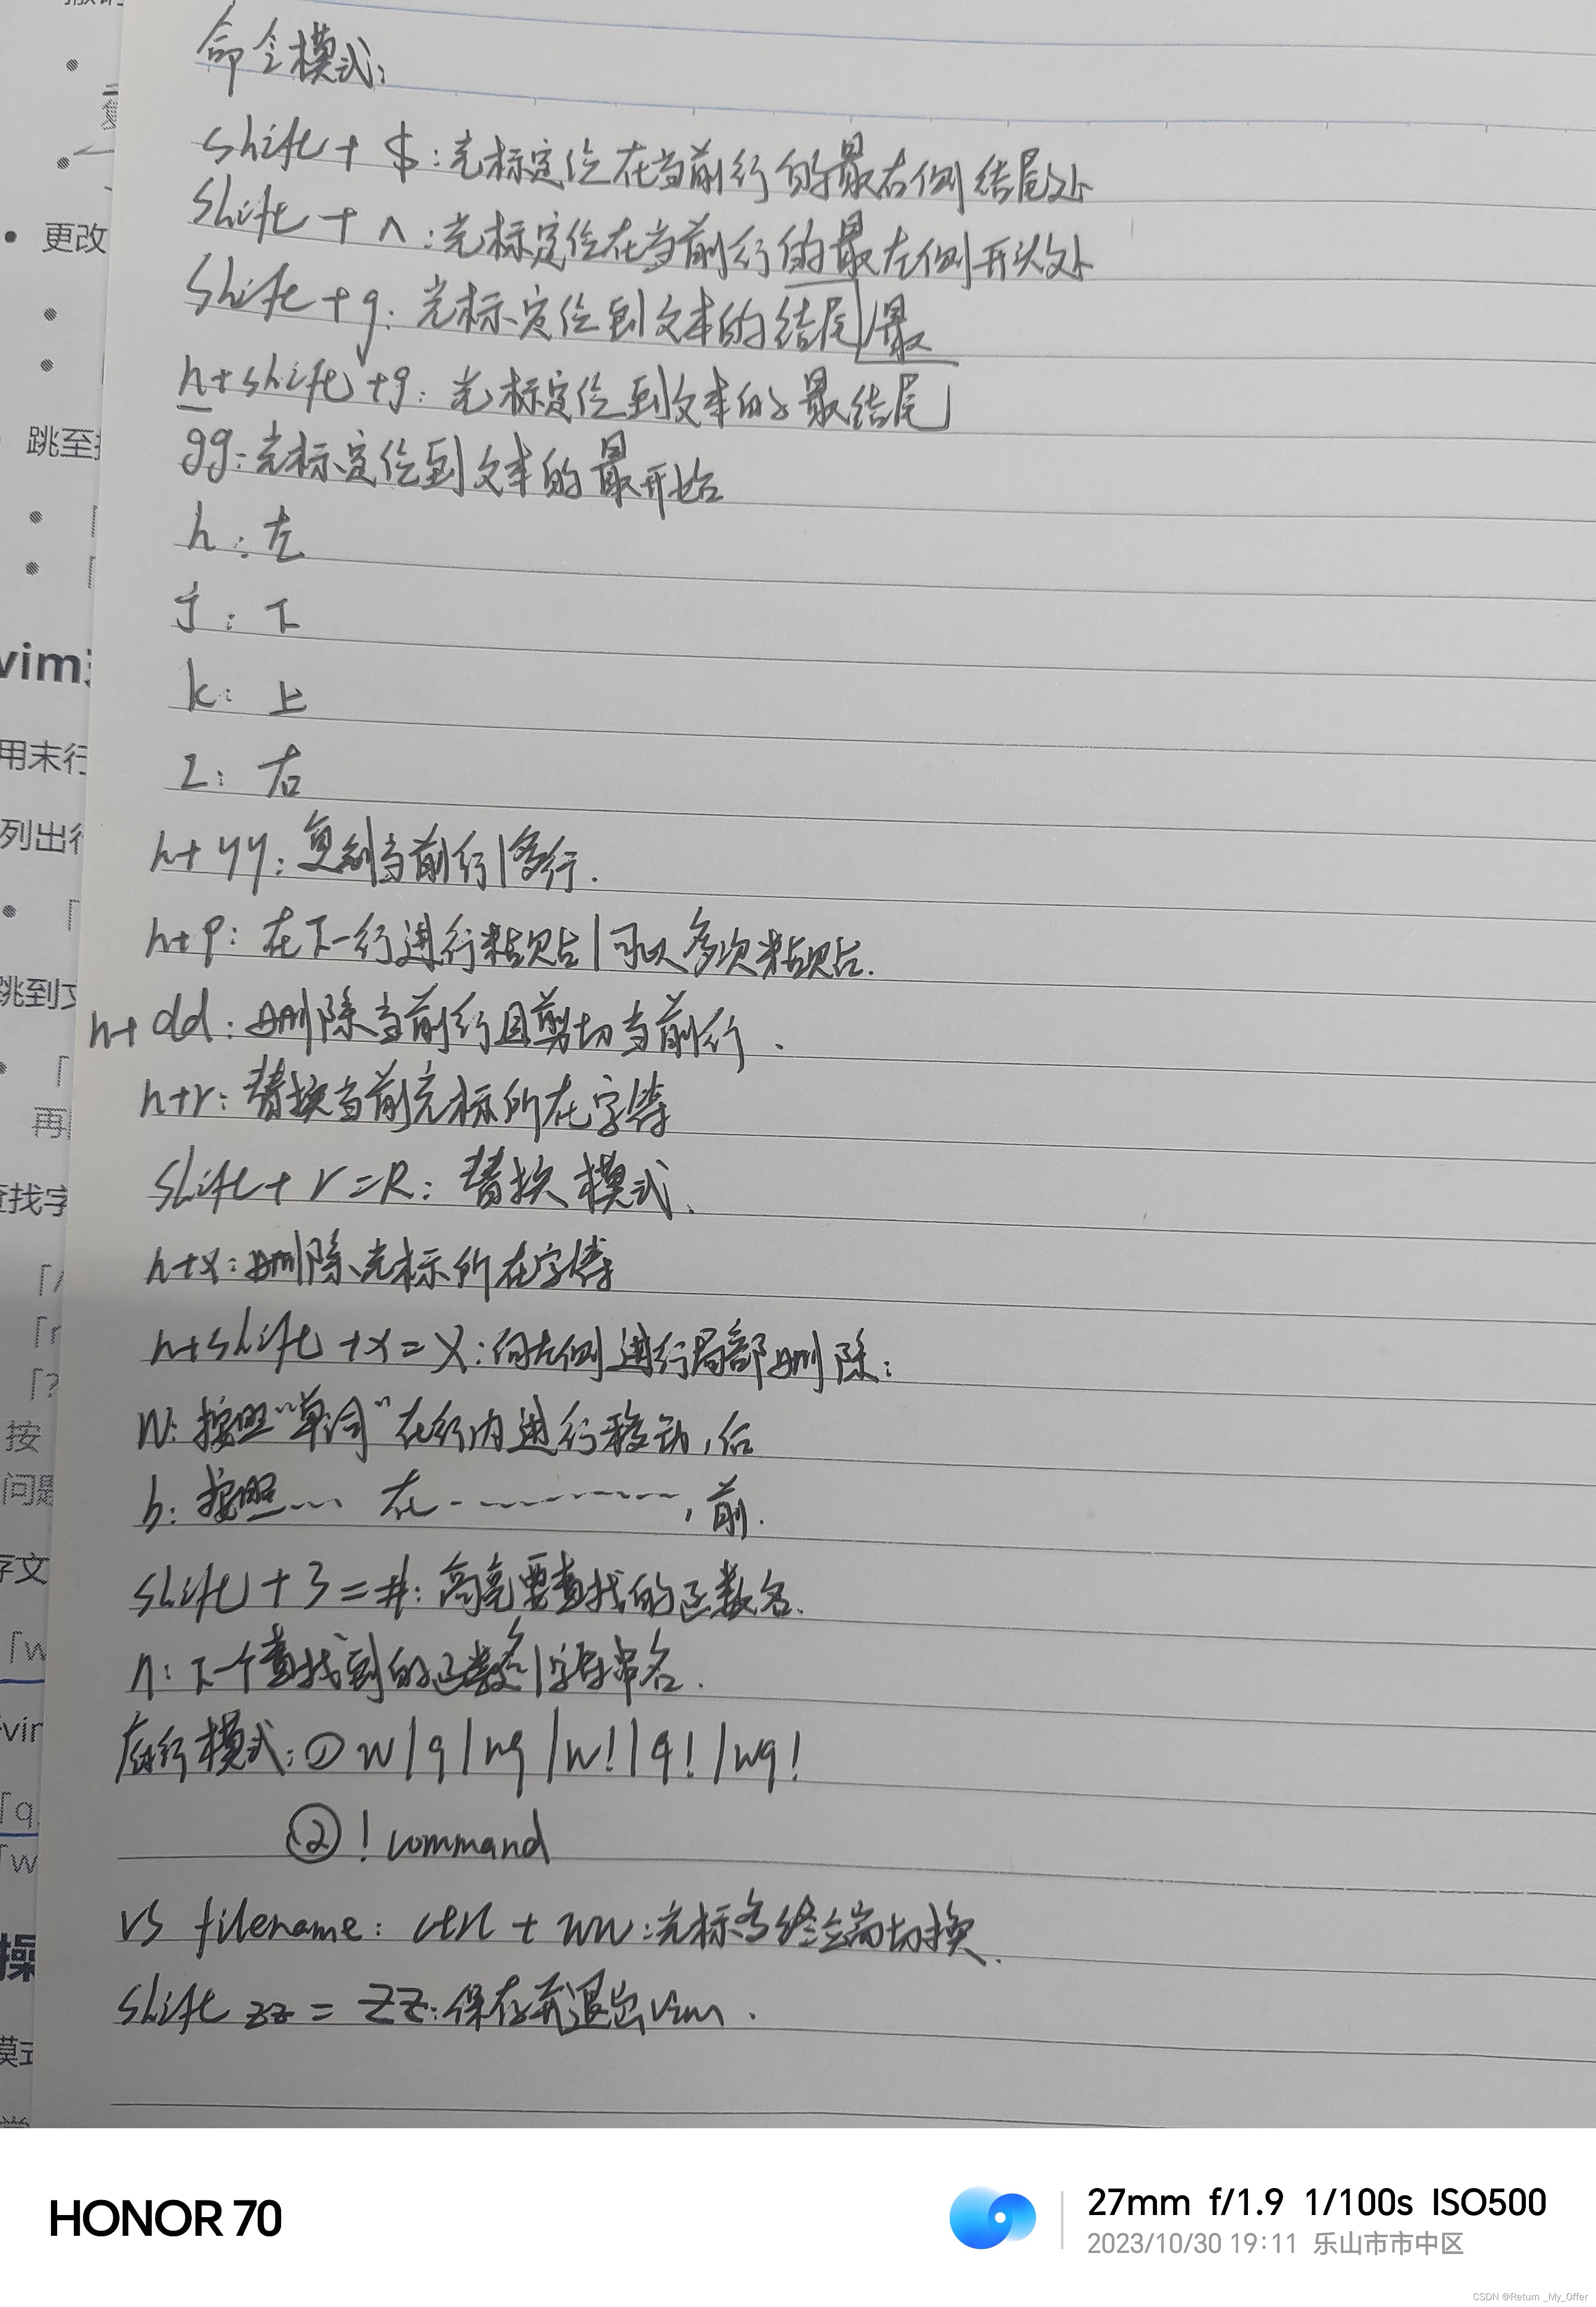
Move cursor
Vim can directly use the cursor on the keyboard to move up, down, left, and right, but regular vim uses lowercase English letters “h”, “j”, “k”,
“l” controls the cursor to move one space to the left, down, up, and right respectively.
Press “G”: move to the end of the article
Press ” $ “: Move to the “end” of the line where the cursor is located
Press “^”: move to the “beginning” of the line where the cursor is located
Press “w”: the cursor jumps to the beginning of the next word
Press “e”: the cursor jumps to the end of the next word
Press “b”: the cursor returns to the beginning of the previous word
Press “#l”: the cursor moves to the #th position of the line, such as: 5l,56l
Press [gg]: enter the beginning of the text
Press [shift+g]: enter the end of the text
Press “ctrl” + “b”: the screen moves “back” one page
Press “ctrl” + “f”: the screen moves “forward” one page
Press “ctrl” + “u”: the screen moves half a page “back”
Press “ctrl” + “d”: the screen moves half a page “forward”
Delete text
“x”: Each time you press it, delete a character at the cursor position.
“#x”: For example, “6x” means to delete the 6 characters “behind (including yourself)” where the cursor is located
“X”: Capital X, each time you press it, delete the character “before” the cursor position.
“#X”: For example, “20X” means to delete the 20 characters “before” the cursor position.
“dd”: delete the line where the cursor is located
“#dd”: Delete # lines starting from the line where the cursor is located
copy
“yw”: Copy the characters from the cursor to the end of the word into the buffer.
“#yw”: Copy # words to the buffer
“yy”: Copy the line where the cursor is to the buffer.
“#yy”: For example, “6yy” means copying 6 lines of text “counting down” from the line where the cursor is located.
“p”: Paste the characters in the buffer to the cursor position. Note: All copy commands related to “y” must be matched with “p” to complete
into copy and paste functions.
replace
“r”: Replace the character at the cursor
“R”: Replace the character where the cursor is until the “ESC” key is pressed.
Undo last operation
“u”: If you execute a command by mistake, you can press “u” immediately to return to the previous operation. Press “u” multiple times to perform multiple responses
complex.
“ctrl + r”: Undo recovery
Change
“cw”: Change the word where the cursor is to the end of the word
“c#w”: For example, “c3w” means changing 3 characters
Jump to the specified line
“ctrl” + “g” lists the line number of the line where the cursor is located.
“#G”: For example, “15G” means moving the cursor to the beginning of line 15 of the article
I have also summarized the above usage and added some other usages. See the picture below
5.vim end line mode command set
Before using the last line mode, please remember to press the “ESC” key to make sure you are in the normal mode, and then press the “:” colon to enter the last line mode.
List line numbers
“set nu”: After entering “set nu”, the line number will be listed in front of each line in the file
Jump to a certain line in the file
“#”: The “#” sign represents a number. Enter a number after the colon and press the Enter key to jump to that line. For example, enter the number 15 and press Enter to jump to the 15th line of the article.
Find characters
“/Keyword”: Press the “/” key first, and then enter the characters you want to find. If the keyword you are looking for for the first time is not what you want, you can keep pressing “n” to find the key you want later. up to the word
“?Keyword”: Press the “?” key first, and then enter the characters you want to find. If the keyword you are looking for for the first time is not what you want, you can keep “n” to find the keyword you want. until
Question: / and ? Find the difference between there and? Experiment with the operation
save document
“w”: Enter the letter “w” in the colon to save the file
Leave vim
“q”: Press “q” to exit. If you cannot leave vim, you can force “!” after “q” to exit vim.
“wq”: It is generally recommended to use it with “w” when exiting, so that the file can be saved when exiting.
6.vim operation summary
Three modes
Normal mode
Insert mode
Bottom row mode
We have a total of 12 general modes. You can study them when you come down.
vim operation
Open, close, view, query, insert, delete, replace, undo, copy, etc.
7. Simple vim configuration
The location of the configuration file
Under the directory /etc/, there is a file named vimrc. This is the public vim configuration file in the system and is valid for all users.
In each user’s home directory, they can create their own private configuration file and name it: “.vimrc”. For example, there is usually a .vimrc file in the /root directory. If it does not exist, create it.
Switch the user to become yourself and execute su, enter your main working directory, and execute cd ~
Open the .vimrc file in your own directory and execute vim .vimrc
Commonly used configuration options for testing
Set syntax highlighting: syntax on
Display line number: set nu
Set the number of spaces for indentation to 4: set shiftwidth=4
Use plug-ins
To configure good-looking vim, the native configuration may not be fully functional. You can choose to install plug-ins to complete the configuration and ensure that the user is the user you want to configure. Next:
Install the TagList plug-in, download taglist_xx.zip, decompress it, put the decompressed doc content into ~/.vim/doc, and decompress it
Copy the content under the plugin to ~/.vim/plugin
Add in ~/.vimrc: let Tlist_Show_One_File=1 let Tlist_Exit_OnlyWindow=1 let
Tlist_Use_Right_Window=1
Install the file browser and window manager plug-in: WinManager
Download winmanager.zip, version 2.X or above
Unzip winmanager.zip, put the decompressed doc content into ~/.vim/doc, and copy the decompressed plugin content to ~/.vim/plugin
Add let g:winManagerWindowLayout=’FileExplorer|TagList nmap wm :WMToggle in ~/.vimrc and then restart vim, open ~/XXX.c or ~/XXX.cpp, enter “wm” in normal state, you will see The effect of the above picture
More specific steps: Click me for other manuals, please execute the vimtutor command

References
Vim from beginner to awesome (vim from zero to hero)