Purpose: Recently, I have been exploring large model localization deployment + knowledge base to implement industry solutions, record the installation process, and share it with students who need it. It is very important to determine the version of each component before installation to avoid repeated installations.
After reviewing a large amount of information, it can currently be divided into the following two options
Option 1: Use open source LLM for local deployment and fine-tuning
Advantages: Data is the most secure because both the model and training data are local
Disadvantages: It takes a lot of manpower and material resources to train a good enough model (of course it is much better than pre-training)
Specific implementation: (LLAMA, ChatGLM2) + (Lora, P-Tuningv2, promote-tunning, etc.)
Option 2: Based on LLM + vector database
Advantages: relatively low cost, simpler, no training or even fine-tuning required
Disadvantages: If you use large cloud models such as ChatGPT, you need to sacrifice some privacy
Specific implementation: LangChain + pinecone + (ChatGPT, ChatGLM2) Ready-made open source solutions: Quivr, PrivateGPT
This article uses the second option, with specific implementation:
- LangChain + Vector Database + ChatGLM2
- LLM + vector database solution core
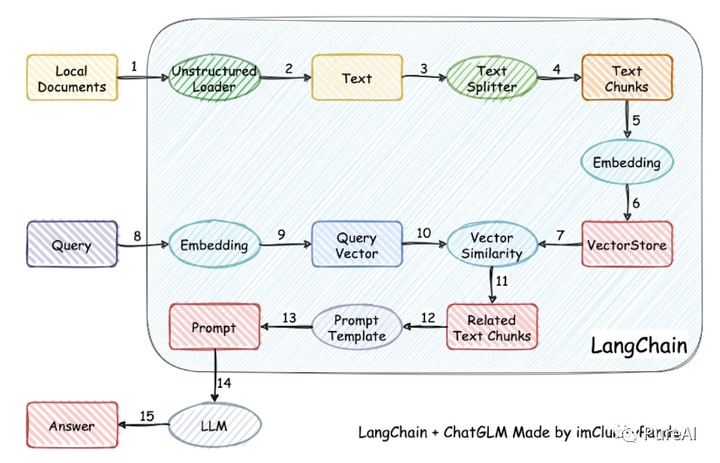
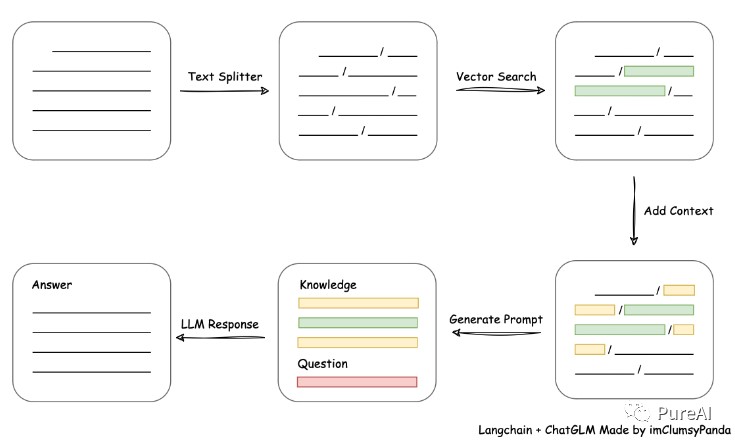
- Three steps to implement a private knowledge base
*Store the private knowledge base content into the vector knowledge base through embedding
*Every time the user asks a question, the question is also embedding, and the vector correlation algorithm (such as the cosine algorithm) is used to find the most matching fragments of the vector knowledge base.
*Submit these snippets, along with user questions, as promts to LLM for answers
Knowledge points:
1. Embedding, to a certain extent, is used to reduce dimensionality. The principle of dimensionality reduction is matrix multiplication.
A simple example, you can use a map to understand Embedding. The information of real geographical terrain is actually far more than three-dimensional, but the map maximizes the representation of real geographical information (two-dimensional) through colors and contours, so the map is reality. Geographic Embedding
2. The vector knowledge base is where Embedding vectors are stored.
3. LangChain can easily manage the interaction between the Embedding vector knowledge base and LLM, and link multiple components together. It is a very popular large language model development framework.
Core Process Diagram
1. DeploymentEnvironment
Open a server with GPU, CPU 2 cores, memory 24G or 32G, video memory 24G or 32G. You can try a lower configuration page.
Special notes on installation: Version issues
The ChatGLM2-6B version requires PYTORCH2.0 and 2.0.1. It is so precise. Please try to install it with the following command first. CUDA cannot be used with 12.0 or 10.0, only the 11.x version. Python version 3.9 must be used.
CentOS7.9
PYTORCH2.0.1
CUDA11.8
Python3.9
pip3 install torch=2.0.1 torchvision torchaudio --index-url https://download.pytorch.org/whl/cu118
CUDA: version 11.8. The last time I installed Tensforflow, I used CUDA 10.0. I could only uninstall and then reinstall CUDA 11. But luckily the CUDA installer is very smart. CUDA 12, CUDA 11.8 and CUDA 10 can coexist very well on my computer. In the PATH The latest path is placed, so there is no pressure.
CUDA has been changed, and CUDNN should also be changed to a version that matches CUDA11.8. Check after installation (enter command line)
nvcc --version
nvcc: NVIDIA (R) Cuda compiler driver
Copyright (c) 2005-2022 NVIDIA Corporation
Built on Wed_Sep_21_10:41:10_Pacific_Daylight_Time_2022
Cuda compilation tools, release 11.8, V11.8.89
Build cuda_11.8.r11.8/compiler.31833905_0
Continue to go:
Create an environment in anaconda, such as chatglm2-6b, and then activate it with activate.
virtual environment
conda create -n chatglm2-6b python=3.9
conda activate chatglm2-6b
If you have not installed CUDA11 before, you cannot install pytorch2.0 and the system will prompt you. Please go back and install CUDA11 and CUDNN.
2. Installation and deployment
Download source code
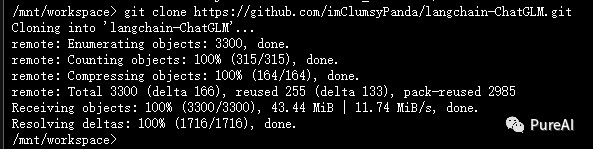
git clone https://github.com/imClumsyPanda/langchain-ChatGLM.git
Install dependencies
cd langchain-ChatGLM
pip install -r requirements.txt
(May affect existing versions of PYTORCH and CUDA, please note)
Download model
# Install git lfs
yum install git-lfs
# After the installation is complete, you can run the following command to verify whether Git LFS has been successfully installed:
git lfs version
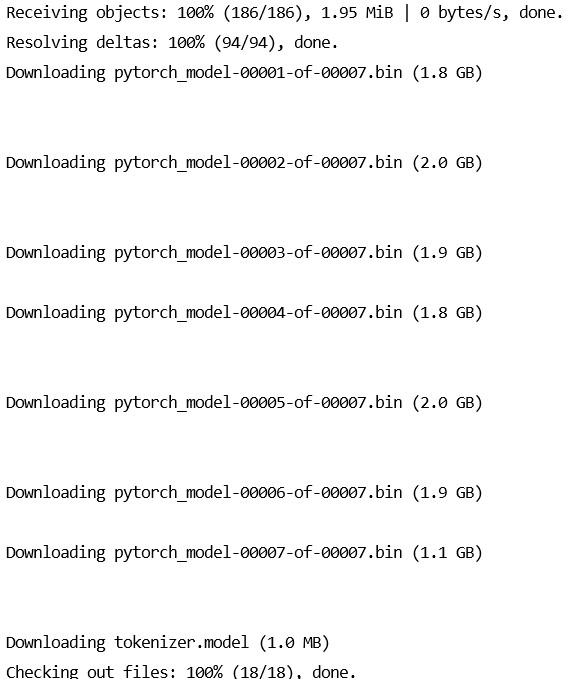
# Download LLM model (relatively large data 13G)
git clone https://huggingface.co/THUDM/chatglm2-6b $PWD/chatglm2-6b
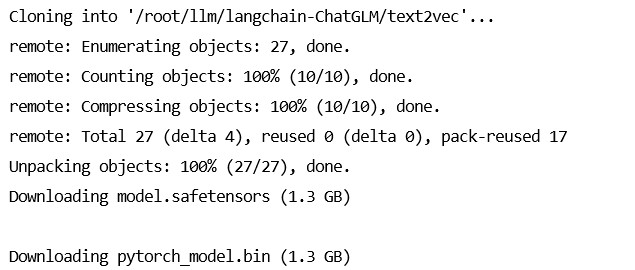
# Download Embedding model (relatively large data 2.6G)
git clone https://huggingface.co/GanymedeNil/text2vec-large-chinese $PWD/text2vec
Modify configuration parameters
In the configs/model_config.py file, modify the embedding_model_dict and llm_model_dict parameters.
cd configs
cp model_config.py.example model_config.py
vim model_config.py
"text2vec": "/root/llm/langchain-ChatGLM/text2vec",
"chatglm2-6b": "/root/llm/chatglm2-6b",
Knowledge base initialization and migration
The knowledge base information of the current project is stored in the database. Please initialize the database before officially running the project (we strongly recommend that you back up your knowledge files before performing the operation).
If you are a user who upgraded from version 0.1.x, for the established knowledge base, please confirm that the vector library type and Embedding model of the knowledge base are consistent with the default settings in configs/model_config.py. If there are no changes, just use the following command to Just add existing knowledge base information to the database:
python init_database.py
If you are running this project for the first time and the knowledge base has not yet been established, or the knowledge base type and embedded model in the configuration file have changed, or normalize_L2 is not enabled in the previous vector library, you need to initialize or rebuild the knowledge base with the following command:
python init_database.py --recreate-vs
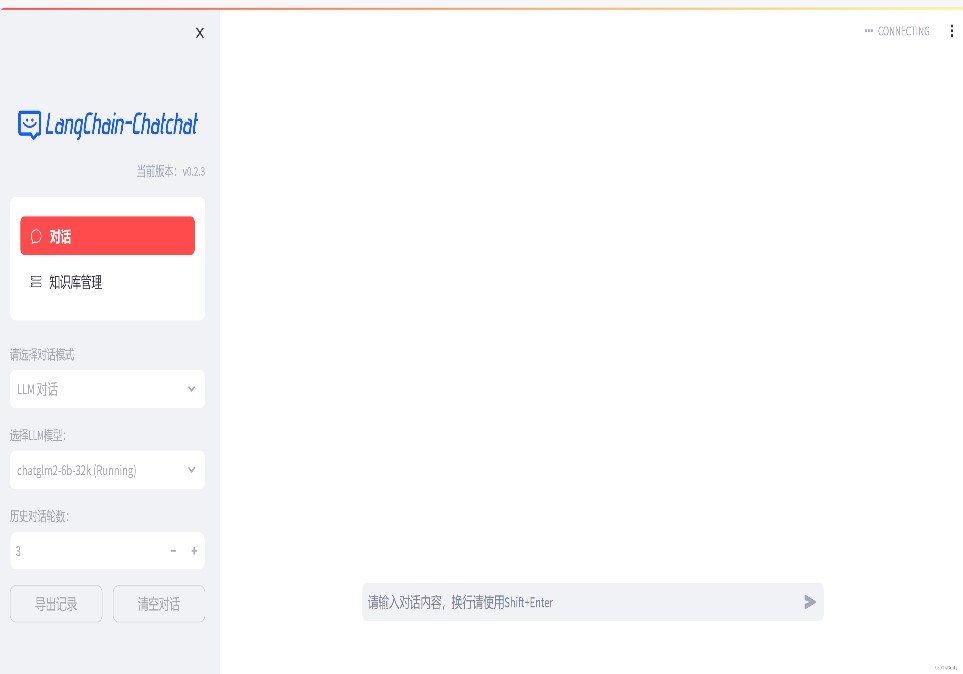
3. Start API service or Web UI with one click
1. Enable the default model with one click
One-click startup script startup.py, one-click to start all Fastchat services, API services, and WebUI services, sample code:
python startup.py -a
Automatically jump to the web page. If it cannot jump, remember to press the Enter key at the end of the code to start the web page with one click.
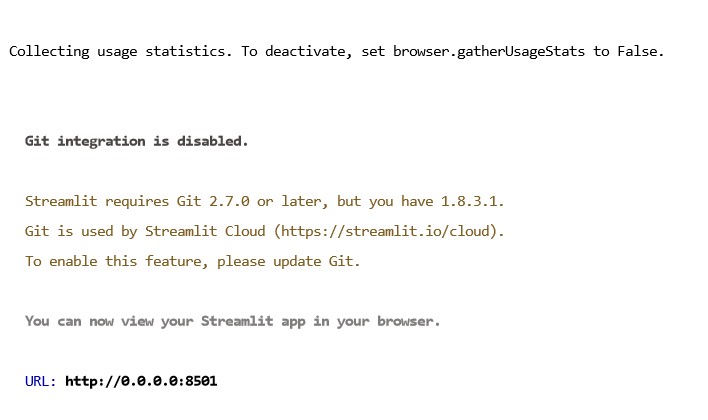
Server settings allow access to port 8501
http://43.156.*.*:8501/
Automatically jump to the web page. If it cannot jump, remember to press the Enter key at the end of the code to start the web page with one click.
(The dialogue output text is slower because the CPU is used now. There is a method to set it to GPU later, which is much faster.)
And you can use Ctrl + C to directly shut down all running services. If you can’t finish it once, you can press it several times.
Optional parameters include -a (or –all-webui), –all-api, –llm-api, -c (or –controller), –openai-api, -m (or –model- worker), –api, –webui, where:
 --all-webui starts all dependent services of WebUI with one click;
    --all-api starts all dependent services of the API with one click;
    --llm-api starts all Fastchat dependent LLM services with one click;
    --openai-api starts only FastChat's controller and openai-api-server services;
    Others are individual service startup options.
2. Enable non-default models
If you want to specify a non-default model, you need to use the –model-name option, example:
python startup.py --all-webui --model-name Qwen-7B-Chat
More information can be viewed via python startup.py -h.
Add a personal knowledge base
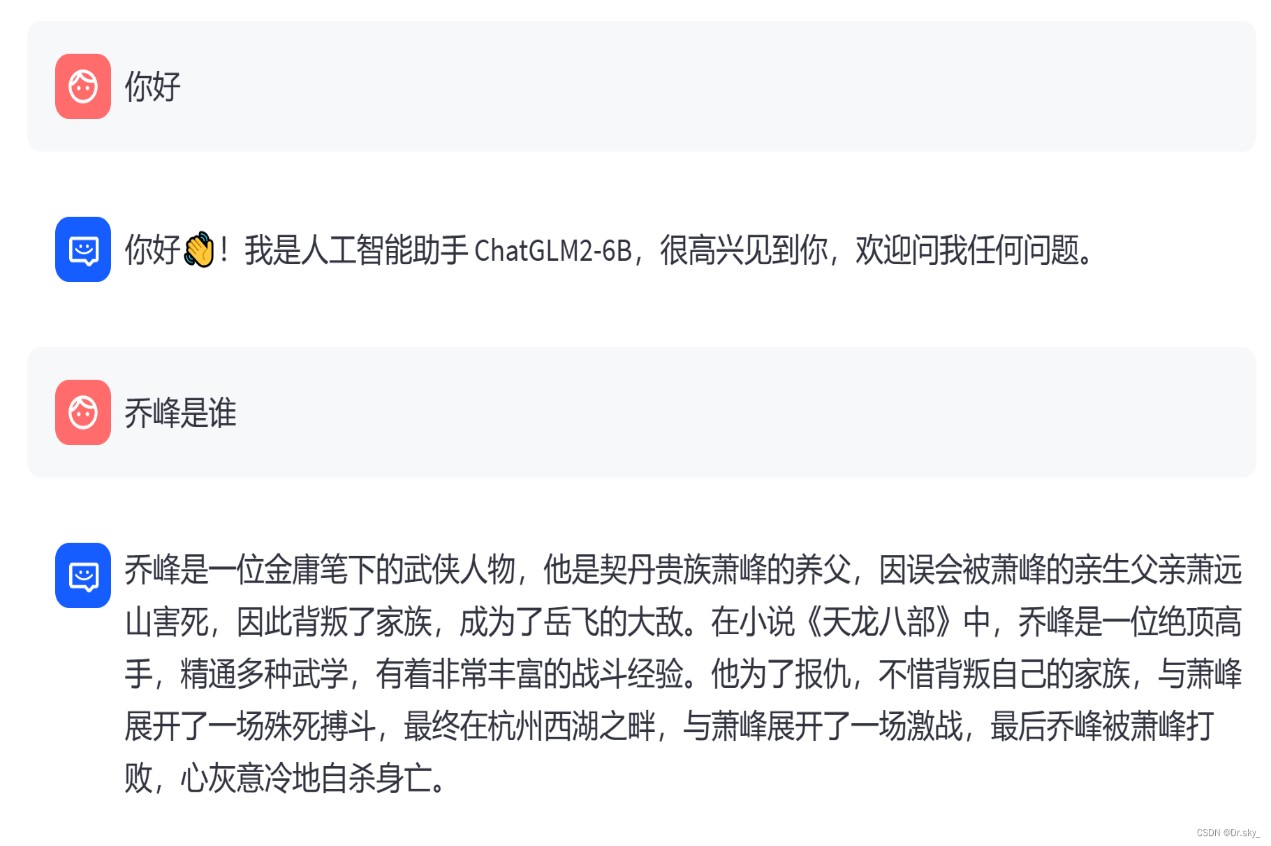
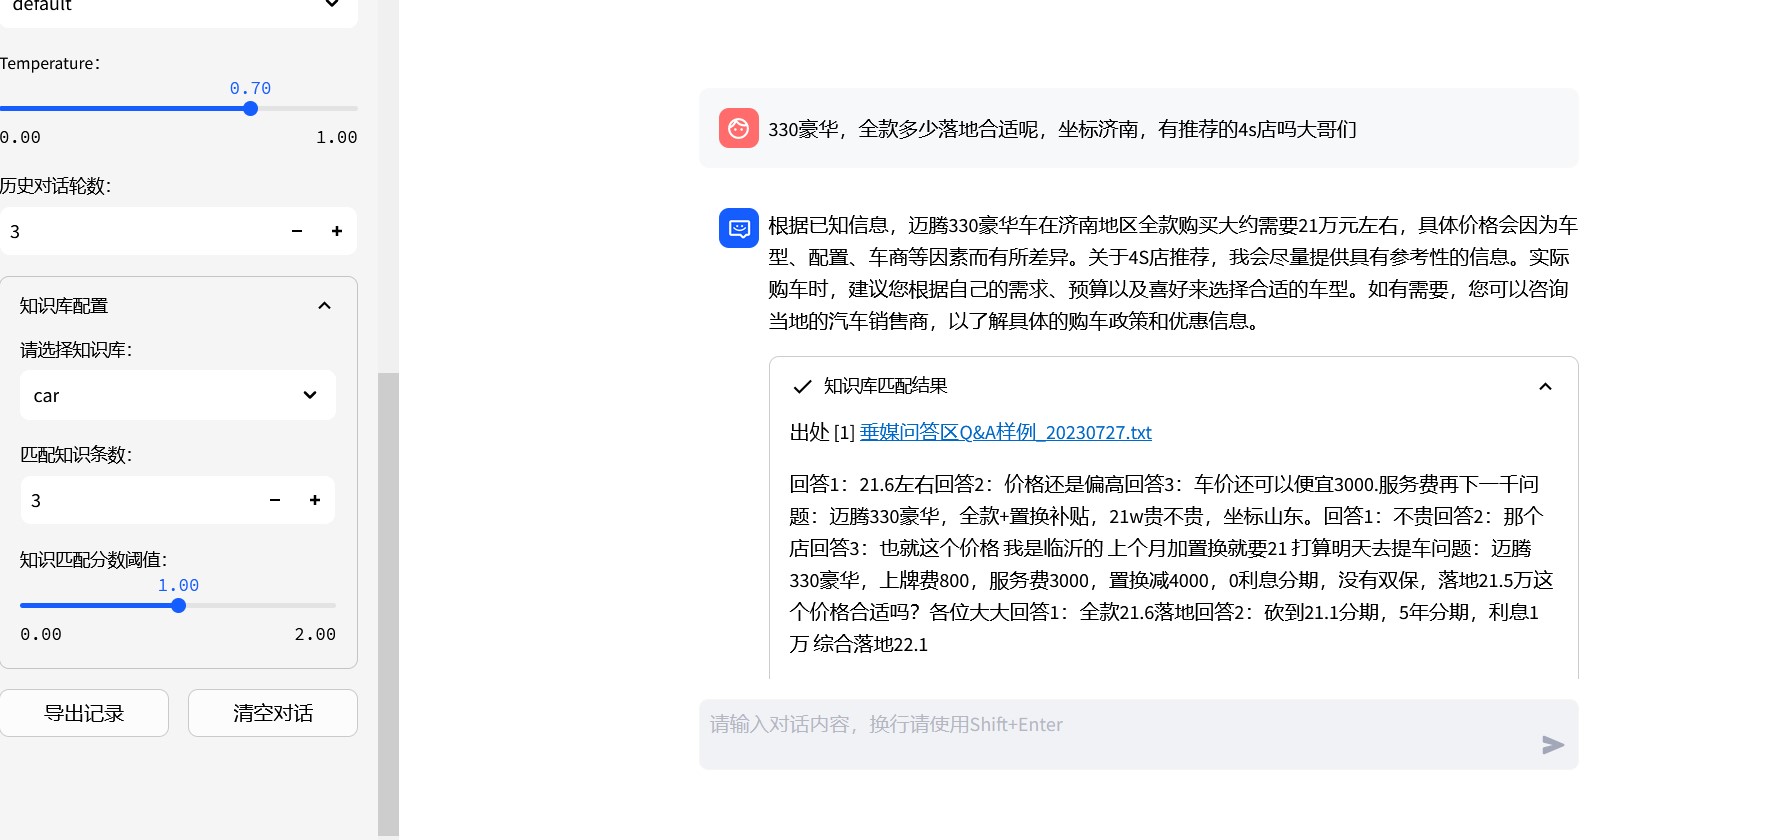
If the current answer results are not ideal, as shown in the figure below, you can add a knowledge base to optimize the knowledge.
Add knowledge base locally
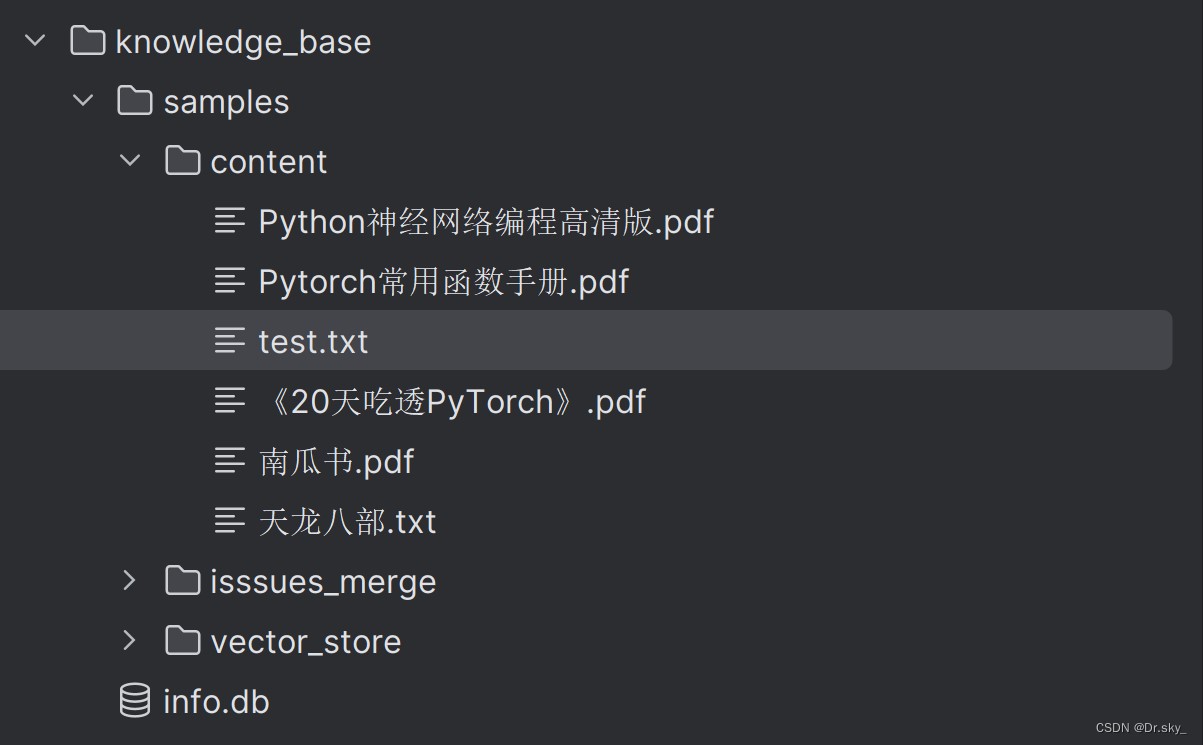
Add the document to the knowledge_base–samples–content directory:
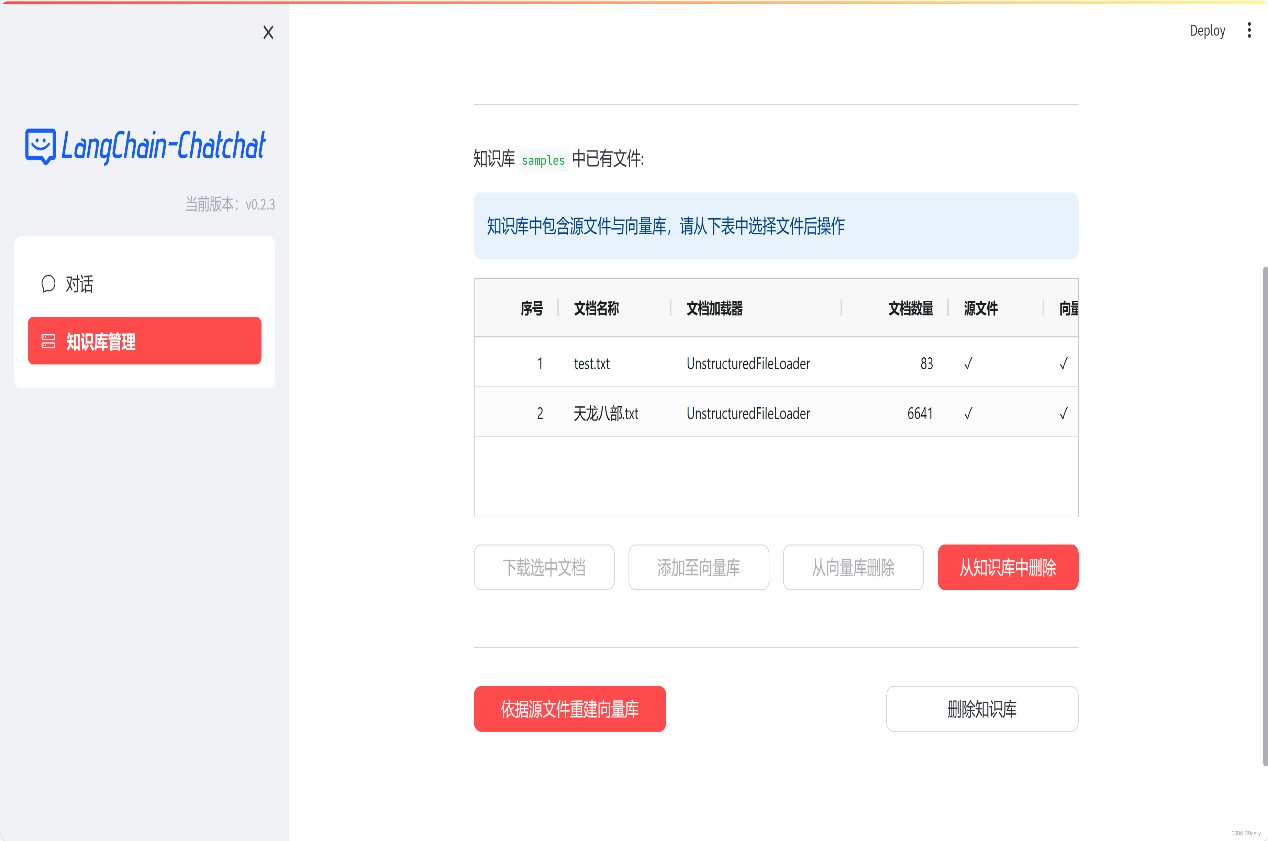
Add knowledge base via web page
Re-fine-tune the model
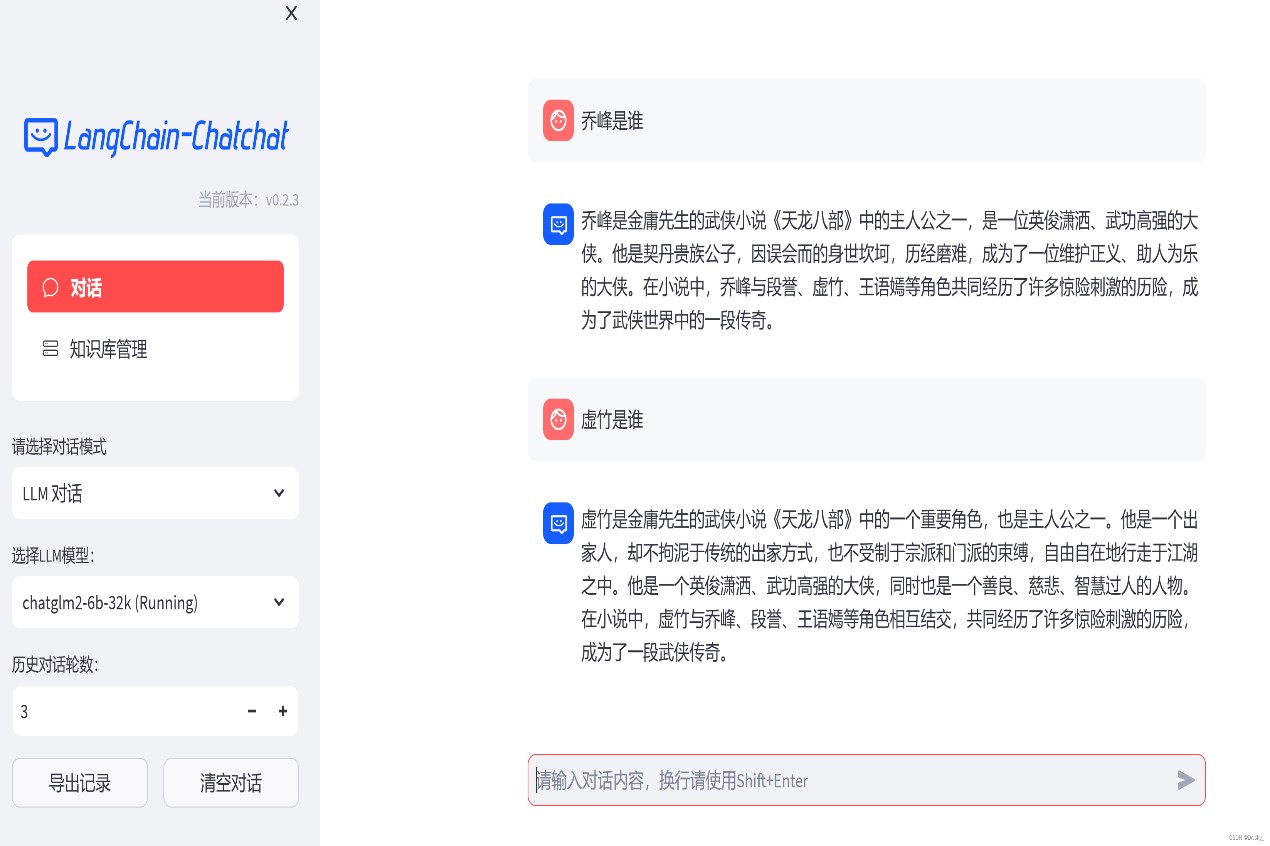
After the knowledge base is added, rerun the program according to 3.5-3.6 to update the local knowledge base. As shown in the figure below, after adding the “Dragon and the Eight Parts” e-book, the answer results become more accurate.
Increase answering speed, change CPU to GPU:
In the model_config.py file, modify
# Embedding model running device. Setting it to “auto” will automatically detect it, or you can manually set it to one of “cuda”, “mps”, and “cpu”.
EMBEDDING_DEVICE = “auto”
for:
# Embedding model running device. Setting it to “auto” will automatically detect it, or you can manually set it to one of “cuda”, “mps”, and “cpu”.
EMBEDDING_DEVICE = “cuda”
Revise
# LLM running device. Setting it to “auto” will automatically detect it, or you can manually set it to one of “cuda”, “mps”, and “cpu”.
LLM_DEVICE = “auto”
for:
# LLM running device. Setting it to “auto” will automatically detect it, or you can manually set it to one of “cuda”, “mps”, and “cpu”.
LLM_DEVICE = “cuda”
If the dialogue model selects “knowledge base dialogue” mode:
4. Problem solving during installation:
1. Issues with component versions. The Torch version does not support CUDA and requires component matching
(base) [root@VM-0-9-centos langchain-ChatGLM]# python

Python 3.11.5 (main, Sep 11 2023, 13:54:46) [GCC 11.2.0] on linux
Type "help", "copyright", "credits" or "license" for more information.
>>> import torch

>>> print(torch.__version__)
2.1.0+cu121

>>> torch.cuda.is_available()
/root/miniconda3/lib/python3.11/site-packages/torch/cuda/__init__.py:138: UserWarning: CUDA initialization: The NVIDIA driver on your system is too old (found version 11000). Please update your GPU driver by downloading and installing a new version from the URL: http://www.nvidia.com/Download/index.aspx Alternatively, go to: https://pytorch.org to install a PyTorch version that has been compiled with your version of the CUDA driver. (Triggered internally at ../c10/cuda/CUDAFunctions.cpp:108.)
  return torch._C._cuda_getDeviceCount() > 0
False
2. Reinstall the matching version of pytorch
1) Command line input
conda uninstall pytorch
2) Then enter the command line
conda uninstall pytorch-cuda
(This step is not included in many tutorials, resulting in more than ten packages that have not been deleted)
3) You can see that after uninstallation
Command to view packages: conda list

Install pytorch=2.0.1
conda update --force conda
conda install pytorch=2.0.1 torchvision torchaudio pytorch-cuda=11.8 -c pytorch -c nvidia
conda install cchardet
3. Linux Centos7 installation cuda 11.8 command
wget https://developer.download.nvidia.com/compute/cuda/11.8.0/local_installers/cuda-repo-rhel7-11-8-local-11.8.0_520.61.05-1.x86_64.rpm
sudo rpm -i cuda-repo-rhel7-11-8-local-11.8.0_520.61.05-1.x86_64.rpm
sudo yum clean all
sudo yum -y install nvidia-driver-latest-dkms
sudo yum -y install cuda-toolkit-11-8
4. Configure CUDA environment
sudo vim ~/.bashrc
    At the bottom of the bashrc file, add the following code
    (ps: You need to pay attention to the cuda version here. Different versions require modification of the path naming)

export PATH=$PATH:/usr/local/cuda-11.8/bin
export LD_LIBRARY_PATH=$LD_LIBRARY_PATH:/usr/local/cuda-11.8/lib64
Update environment
source ~/.bashrc
Test whether CUDA is installed successfully
nvcc -V
After the installation is complete
Execute nvidia-smi if Failed to initialize NVML: Driver/library version mismatch appears
(It’s just incompatibility with the original driver)
4.1 Just restart
4.2 No-restart solution (the server cannot be easily restarted)
4.2.1 Kill GPU-related processes and kill them after seeing the pid
sudo yum install -y lsof
sudo lsof -n -w /dev/nvidia*
4.2.2 Delete existing mods
sudo rmmod nvidia

    Error rmmod: ERROR: Module nvidia is in use by: nvidia_modeset nvidia_uvm
    That is, nvidia_modeset and nvidia_uvm are in use, and they are also rmmod
    Execute the following commands at the same time. If you encounter any module that says in use, rmmod it

sudo rmmod nvidia_modeset
sudo rmmod nvidia_drm
sudo rmmod nvidia_uvm
Run the command again
sudo rmmod nvidia
sudo nvidia-smi
4.2.3 At this time, it is found that nvidia-smi executes slowly. Run the following command to start a daemon process for maintaining the GPU.
nvidia-persistenced --persistence-mode

Uninstall cuda
yum remove -y cuda
5. The page adds the document to the vector library, and an error is reported during processing: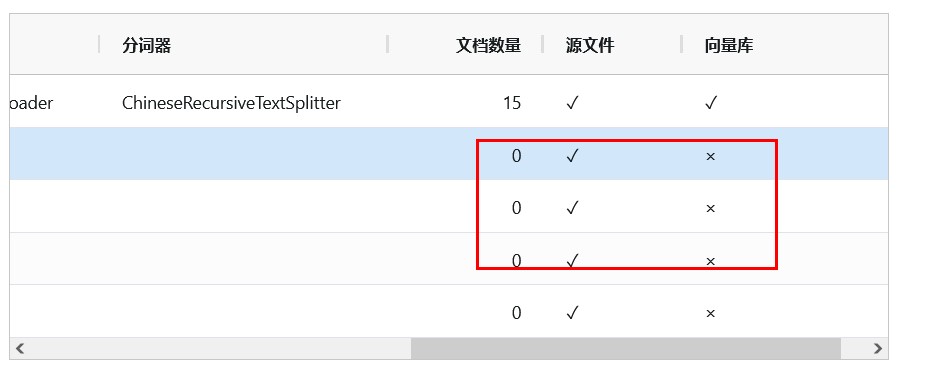

Solution:
pip install -U --force-reinstall charset-normalizer
Reference:
AI local large model ChatGLM2-6B installation
https://zhuanlan.zhihu.com/p/643824521
linux nvidia 11.8 installation record
https://blog.csdn.net/private_void_main/article/details/128014317
Build an industry knowledge base based on embedding + LangChain + ChatGLM2-6B
https://zhuanlan.zhihu.com/p/646405424
LangChain knowledge base + Lora fine-tuning chatglm2-6b model + principles for using prompt word Prompt
https://blog.csdn.net/wxfighting/article/details/132087078
ChatGLM2-6B to easily build a local knowledge base
https://blog.csdn.net/weixin_43734080/article/details/132756808
Detailed installation tutorial for cuda, cuDNN, pytorch, torchvision, torchaudio (error reporting, installation slowly)
https://blog.csdn.net/qq_51392112/article/details/133588860
Thoroughly clean the CUDA installation (clear multiple versions together)
https://blog.csdn.net/qq_53937391/article/details/131501801