I wrote an article “Security ━━ windows2008 self-built certificate, IIS configuration https server and browser error handling” before, and the configuration methods are similar.
Windows Server 2016 and later versions of IIS have their own built-in certificate manager. It is no longer necessary to install and configure Active Directory Certificate Services, and you can directly manage server certificates through IIS Manager. Using IIS Manager can easily configure and install SSL certificates for IIS sites, and can also easily obtain certificates from various certification authorities (CA) and bind them to IIS sites.
1. IIS preparation
IIS and the certificate can be installed at the same time, this article is separated for easy understanding and distinction.
For the installation of IIS, refer to the installation of IIS components in this article “PHP Development Log ━━ How IIS7 Installs PHP8.0 and Multiple Versions Exist on One Server at the Same Time”.
This article still installs the certificate manager according to the old method. If you don’t want to manage anything, just go to “3. IIS configuration certificate“.
2. Certificate preparation
1. Open Server Manager, click【Add Roles and Features】

2. Click【Next】by default for the following steps


3. The server role needs to check [Active Directory Certificate Services] and click the [Add Feature] that pops up automatically, and then continue to click [Next]


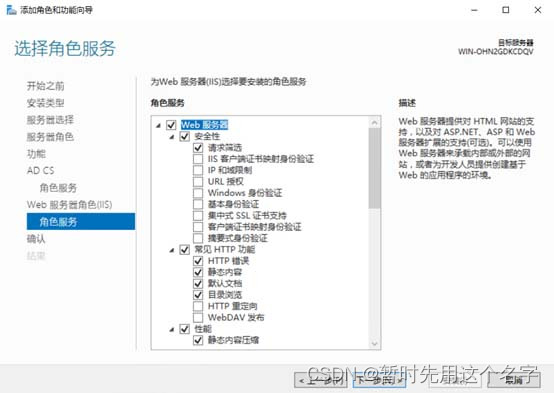
4. Decide whether to check【Certificate Authority Web Registration】
We are here only for iis to configure the https server, no online registration is required, so do not need to tick.

If it is ticked, [Add Function] will pop up after clicking this item

5. Continue the following steps and click [Next] by default.

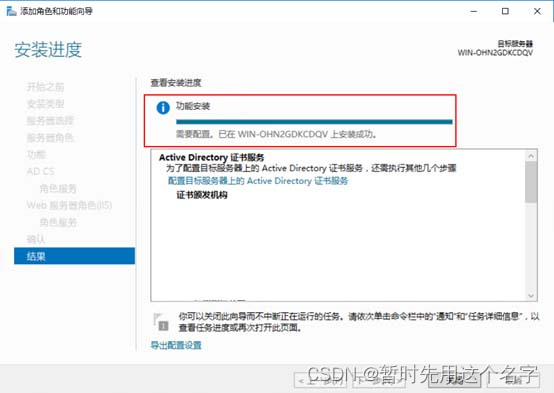
6. Click [Install] and wait for the installation to complete.
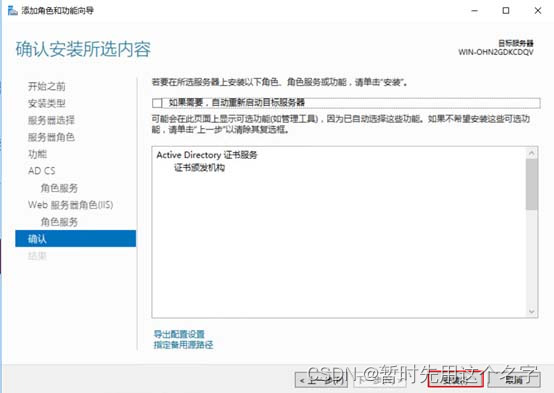

If [Certificate Authority Web Registration] is enabled, more content as shown in the figure will be installed

7. In the server manager, click the prompt in the upper right corner, proceed to [Configure Active Directory Certificate Services on the target server], and then click [Next].


8. The role service configuration needs to check the first two options [Certificate Authority] and [Certificate Authority**Web Registration] at the same time, and then click [Next* by default in the following steps] *].


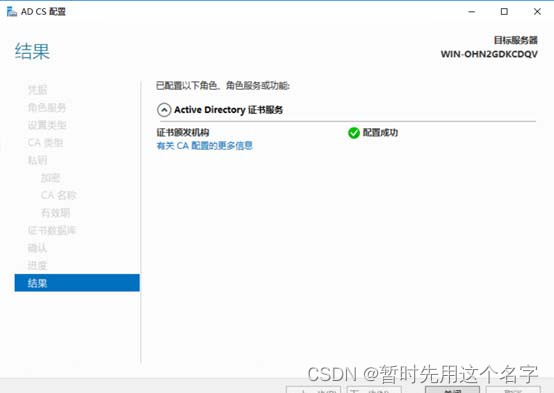
9. The validity period of the certificate here is recommended to be set to 50 years, continue to [Next] until the configuration is complete.


3. IIS configuration certificate
1. Open [Server Certificate] in IIS

2. Select【Create self-signed certificate】
If Certificate Manager is already installed, a 50-year certificate will already exist in the interface

3. Choose a good name
Certificate storage can be understood as classification.

4. Click OK to generate ssl certificate

5. Open the [Binding] of the website

6. Add ssl certificate
Select【Add】

7. Select https type, ssl certificate, and click OK

8. https generated

4. Browser open test
1. Open https://127.0.0.1 in the browser and click to continue browsing the website

2. If it can be opened, it means success
Currently, this type of certificate can only be opened in edge, ie, and firefox by default, and Google Chrome will prompt that the website address is wrong.
5. Export certificate
So how can these signing certificates be exported?
1. Open the Certificate Manager
Run => certmgr.msc

2. Find the certificate
It may be in the personal directory, and you can find it yourself when the time comes.

3. Export certificate
Right click menu => All tasks => Export

Next step

Yes, export private key

Select .pfx, all certificates

enter password

Specify folder and file name

click finish

success

The target location sees the .pfx file

6. Convert to openssl certificate
1. Download and install openssl
How to install openssl will not be written here, please refer to: “Environment – Installing OpenSSL under Windows”
Download address: https://slproweb.com/products/Win32OpenSSL.html
You can also download v3.1.0 on csdn: https://download.csdn.net/download/snans/87595254

2. Open the dialog box and enter the command
Copy the .pfx file to the specified directory and execute two openssl commands respectively, and you will be asked to enter the password registered just now when exporting.
For convenience, I directly copied the .pfx file to the \bin folder in the openssl installation directory, because openssl.exe is really body is here~~
openssl pkcs12 -in 20230320ssl.pfx -out 20230320ssl.crt -nokeys
openssl pkcs12 -in 20230320ssl.pfx -out 20230320ssl.key -nocerts -nodes

3. File generation
Call it a day~~

For the reverse operation, please refer to: How to convert crt certificate to pfx format (gray is very good)
Other references:
Create an OpenSSL self-signed certificate under Windows and convert the existing Windows certificate pfx file into a key and crt file
Windows Server 2016 operating system to build a self-signed CA certificate server (Microsoft Active Directory Certificate Services)