Table of Contents
1. Function
2. Configuration
1. Upload the installation package
2.jdk
2.1. Unzip the corresponding installation package
2.2. Setting up environment variables
3. tomcat
3.1. Unzip the corresponding installation package
3.2. Start
3.3. Set up firewall
3.4. Set up development port
4. MySQL
3. Backend deployment
4. Linux deployment project
1. Single project
5. Modify port access
1. Enter the directory
2. Modify the port
3. Start
1. Function
The combination of tools provides developers and system administrators with a complete environment for building and running Java applications and storing and managing data.
JDK (Java Development Kit): JDK is the Java Development Kit, which provides the tools and libraries needed to develop and run Java applications. By installing JDK, you can compile, debug and run Java programs on Linux.
Tomcat: Tomcat is an open source Java web application server used to deploy and host Java web applications. By installing Tomcat, you can easily deploy and manage Java web applications on Linux servers so that they can respond to HTTP requests and serve dynamic content.
MySQL: MySQL is a popular open source relational database management system. By installing MySQL, you can create, manage and operate databases on Linux to store structured data. MySQL provides powerful features and performance that can be used in all types of applications, from simple websites to complex enterprise-level applications.
2. Configuration
1. Upload the installation package
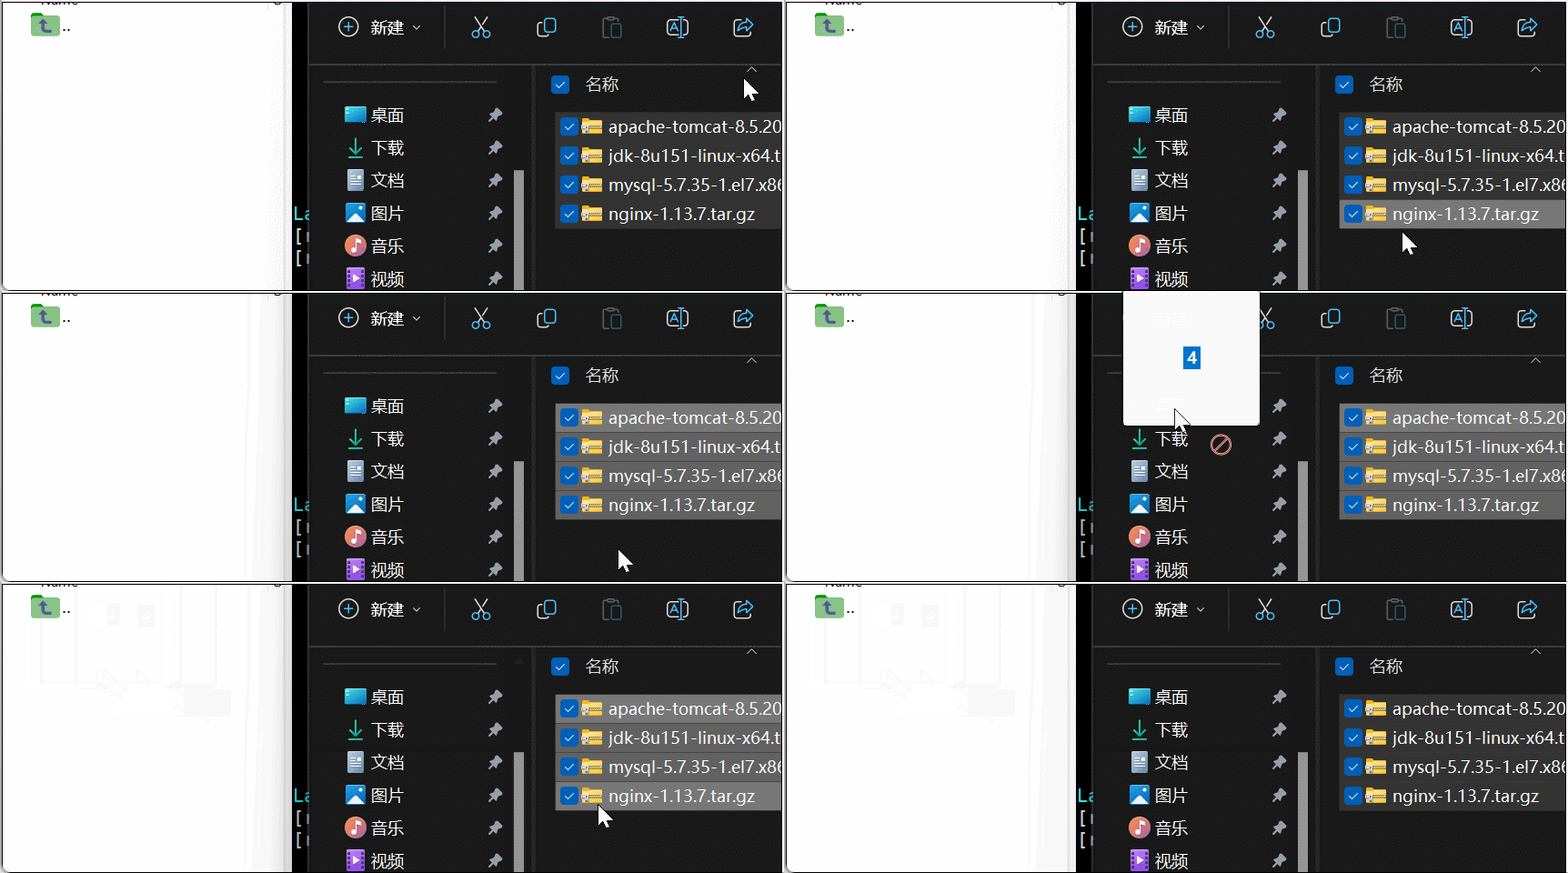
Open our client tool to upload the installation package file we need. If you do not use the client tool to upload the installation package, you need another command to upload it. The client tool I use here uploads it.


2, jdk
2.1. Unzip the corresponding installation package
Enter the folder where we placed the installation package, check our files, and enter the command: tar -xvf jdk file name to decompress.
2.2. Environment variable construction
Enter the command: vim /etc/profile to edit the configuration environment variables.
JAVA_HOME: Place your jdk decompression path.
#java environment
export JAVA_HOME=/javaxl/jdk1.8.0_151 (jdk decompression path)
export JRE_HOME=${JAVA_HOME}/jre
export CLASSPATH=.:${JAVA_HOME}/lib:${JRE_HOME}/lib
export PATH=${JAVA_HOME}/bin:$PATH
Setting environment variables takes effect and must be configured to take effect.
Command: source /etc/profileCheck whether the installation is complete: java -version, Java, javac;
3.tomcat
3.1. Unzip the corresponding installation package
Unzip tomcat
3.2, Start
First, find the tomcat we decompressed, enter the bin directory inside, and view our Linux special startup file startup.sh .
start up
Command: ./startup.sh
Stop: ./shutdown.sh
3.3. Set up firewall
After starting, we still can’t access it. We need to turn off the Linux firewall.
Open port
firewall-cmd --zone=public --add-port=8080/tcp --permanent
firewall-cmd --zone=public --add-port=3306/tcp --permanent
Refresh firewall rules
firewall-cmd --reload
Firewall list
firewall-cmd --zone=public --list-ports
firewall status
systemctl status firewalld
Start firewall
systemctl start firewalld
Turn off firewall
systemctl stop firewalld.service
Start automatically at boot
systemctl disable firewalld.service
We can check the status of the firewall. It is enabled by default and cannot be accessed from the host.
Turn off our firewall, and then check our firewall status to see that our firewall has been turned off.
Our host can also access
3.4. Set development port
- First turn on our firewall before setting it up: systemctl start firewalld
- Then set the development port we need
- firewall-cmd –zone=public –add-port=8080/tcp –permanent
- firewall-cmd –zone=public –add-port=3306/tcp –permanent
- Refresh our firewall rules: firewall-cmd –reload
- Check out our development ports: firewall-cmd –zone=public –list-ports
- Then you can see that you can access even if your firewall is turned on.
4.MySQL
1. ViewLinux’s own database mariadb;
Command: rpm -qa|grep mariadb

2. Delete
Command: rpm -e –nodeps mariadb-libs-5.5.56-2.el7.x86_64
3. Download the MySQL installation package online (you can also download and upload it in advance)
wget https://downloads.mysql.com/archives/get/p/23/file/mysql-5.7.35-1.el7.x86_64.rpm-bundle.tarI use the downloaded upload here
Extract the MySQL installation package to the specified directory
Command 1: mkdir mysql-5.7
Command 2: tar -xvf mysql-5.7.35-1.el7.x86_64.rpm-bundle.tar -C mysql-5.7
Start installation, -ivh where i means installation, v means display the installation process, and h means display progress
4.Enter the decompressed file
Command: cd mysql-5.75. Installation
Command 1: rpm -ivh mysql-community-common-5.7.35-1.el7.x86_64.rpm
Command 2: rpm -ivh mysql-community-libs-5.7.35-1.el7.x86_64.rpm
Command 3: rpm -ivh mysql-community-client-5.7.35-1.el7.x86_64.rpm
Command 4: rpm -ivh mysql-community-server-5.7.35-1.el7.x86_64.rpm6. Start the MySQL service
Command: systemctl start mysqld7.Log in to mysql to change password
Command: grep “password” /var/log/mysqld.logYou can see our temporary password
8.Command login: mysql -uroot -p
Enter the password we just saw and we’re in.
9. Set the password verification policy (0 or LOW), otherwise the password is too simple and cannot be passed.
Command: set global validate_password_policy=0;
10. Set the password verification length, otherwise the password will be too short to pass (the minimum password length is 4 digits)
Command: set global validate_password_length=4;
11. Change password
Command: set password = password(“123456”);Refresh Service: FLUSH PRIVILEGES;
Use identity: use mysql;
Unable to connect to mysql database remotely under Centos7
The database is not authorized and allows remote login to mysql as root.
GRANT ALL PRIVILEGES ON *.* TO ‘root’@’%’ IDENTIFIED BY ‘123456’ WITH GRANT OPTION;Refresh:FLUSH PRIVILEGES;
Exit:exit
Finally, we can connect to the database here externally.
3. Back-end deployment
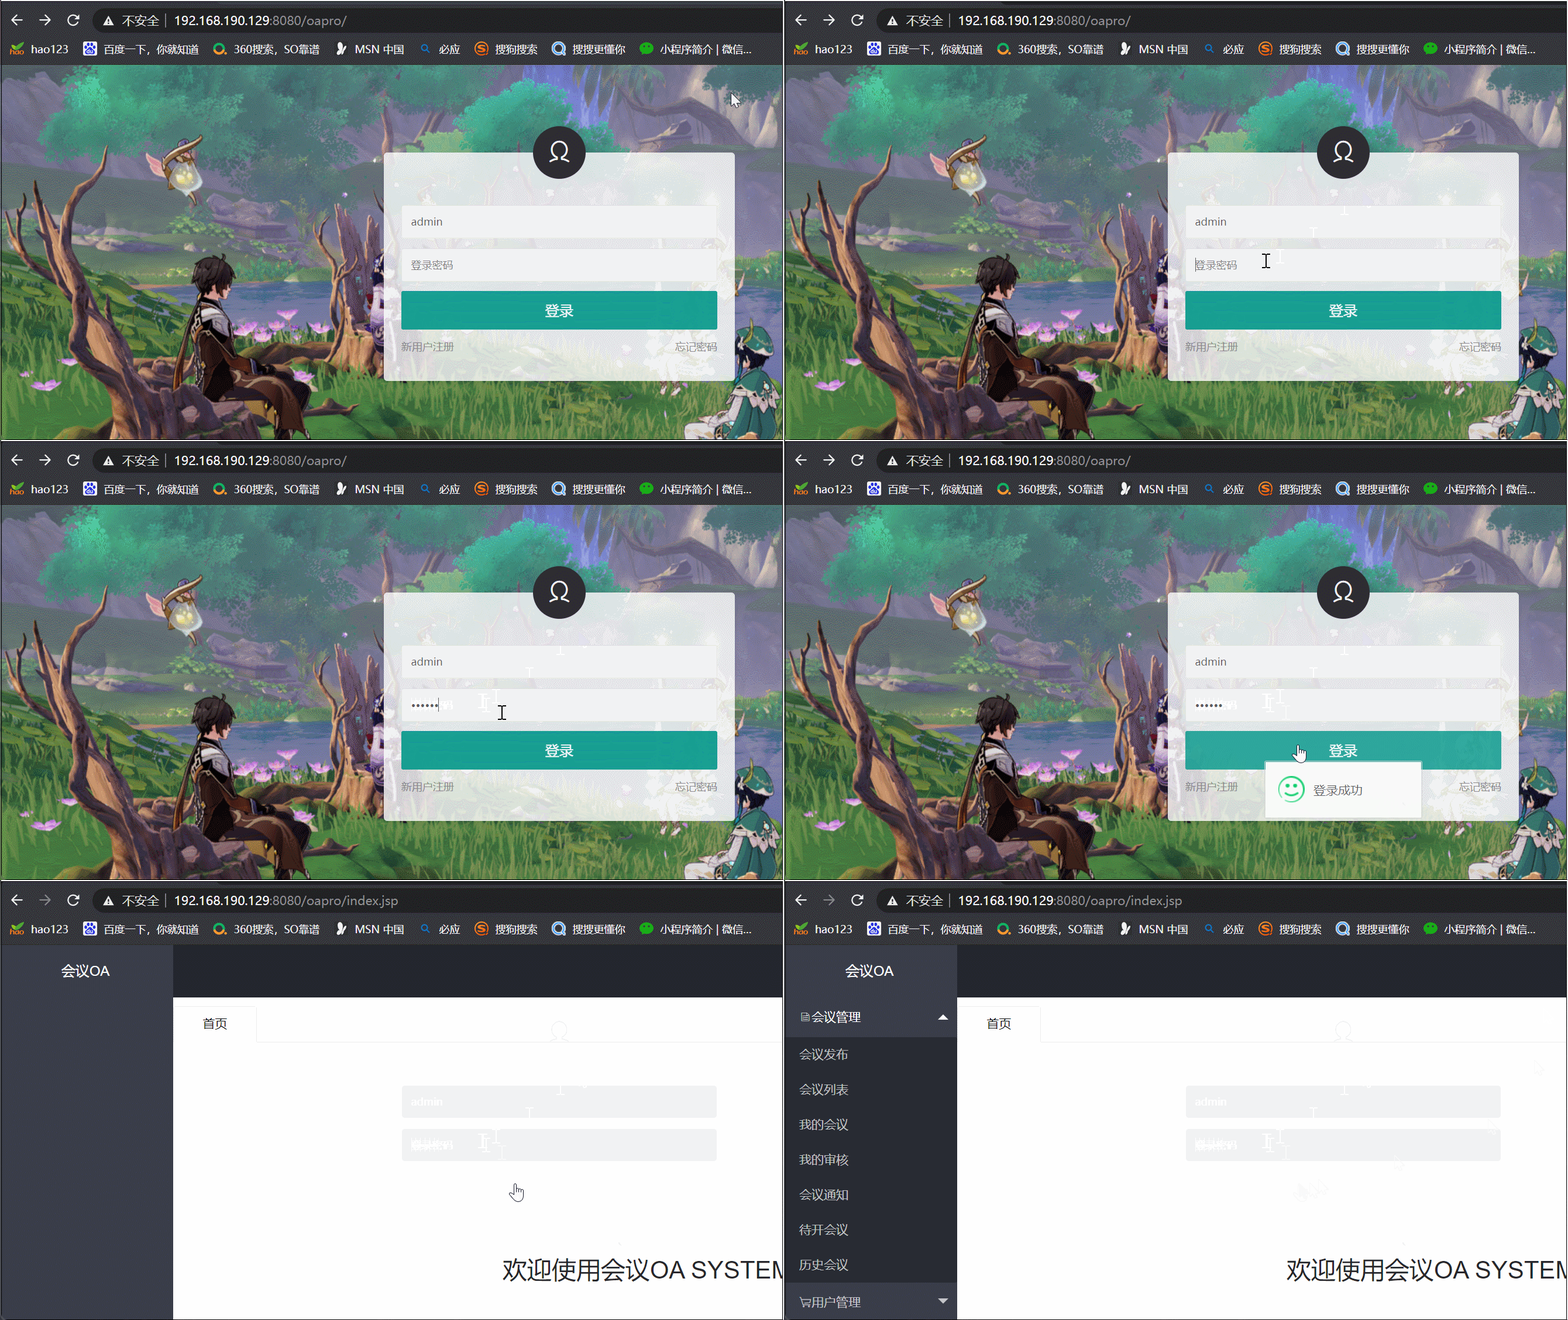
- Use the client software to drag and drop our packaged war package project into our webapp.
- Create a new database to create a database related to our project.
- Stop tomcat: ./shutdown.sh
- Start tomcat: ./startup.sh
- Visit our 8080 to see if there is any startup. “1200”>
- Finally call our background data.
4. Linux Deployment Project
1. Single project
- Use the client software to drag and drop our packaged war package project into our webapp.
- In the MySQL client tool, connect to our Linux server database and run the sql file we prepared.
- You can see that we access the projects deployed by Linux.
5. Modify port access
1. Enter the directory
Enter our apache-tomcat-8.5.20/conf/ and find the server.xml file
2. Modify port
Use the command: vim server.xml to modify our access port number.
Use the Insert key to edit, esc Exit editing, :wq: Exit saving
3. Start
- Enter apache-tomcat-8.5.20/bin/
- If you are starting tomcat, you need to close ./shutdown.sh first, and then open ./startup.sh
- If it is not enabled, just enable it directly./startup.sh
You can see that all our access paths are the port 8082 you modified


